LEGO Set Review: 60150 Pizza Van

60150 Pizza Van is a LEGO City set released in 2017. Before I start, I am aware that numerous reviews, both written and video, of this set exist on the web, and in fact it was reading and watching those reviews that motivated me to buy this set. But I felt like writing my own anyway, and adding a little bit of my own personality to it.
I don't know too much about the LEGO toy range's history with pizza, but what I do know is that 1994's 6350 Pizza To Go was the set that started it all, and pizza has been one of the, if not the, quintessential food themes in sets ever since. Not to the point of becoming a complete staple, but enough for many people to fondly associate pizza and LEGO.
Personally, my fond association of pizza and LEGO comes from the PC game LEGO Island 2: The Brickster's Revenge. I never played the first LEGO Island, nor LEGO Island Xtreme Stunts, but I do own a couple of LEGO Island Xtreme Stunts sets, 6735 Air Chase and 6738 Skateboard Challenge, which I even plan to incorporate into my LEGO city (making it kinda LEGO Island, I suppose!).
60150 Pizza Van and 41311 Heartlake Pizzeria, both released in the same year, appear to be the first non-licensed dedicated pizza-themed sets in over two decades, since 6350 Pizza To Go. 60150 Pizza Van is also one of the rarer LEGO City sets that isn't police-, fire-, Arctic-, or rescue-themed. Just an everyday, slice-of-life (pun completely intended!), food set with regular civilian minifigures to boot. As someone who just wants to create a peaceful, residential town area of a LEGO city, this set was a must-have.
Over 8600 Brickset users owning this set as of this writing is no joke!
The box
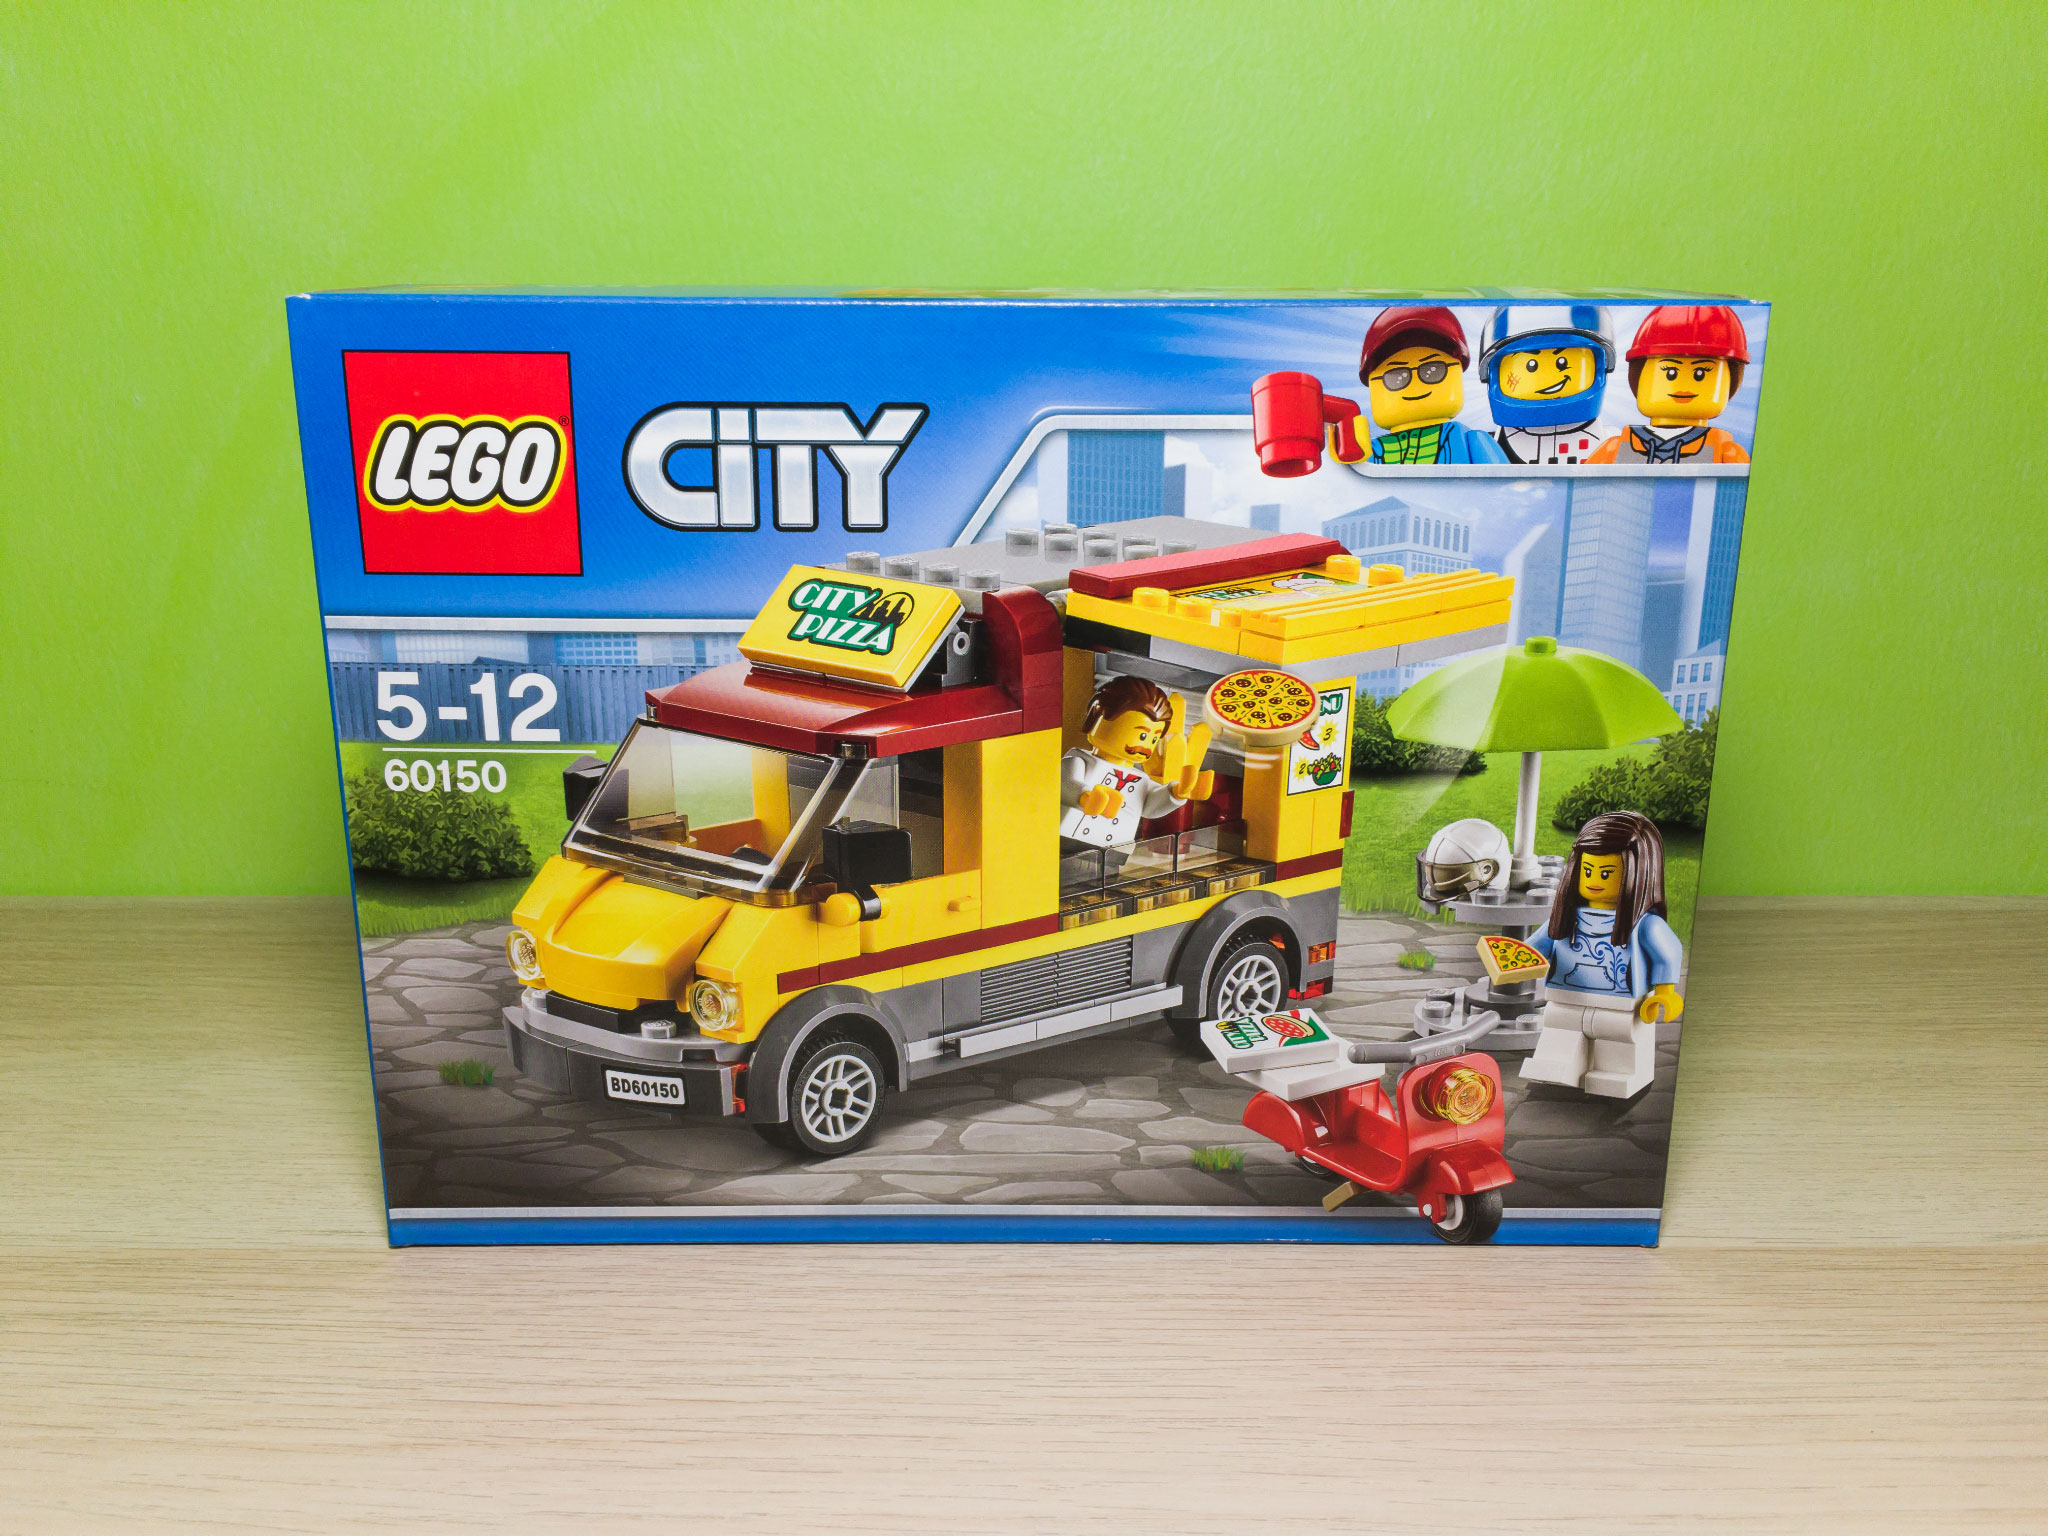
The front of the box shows you everything you get in this set: not only the eponymous vehicle, but also an outdoor table with parasol (as is normally found with food trucks), and a scooter. And two minifigures: a chef and a customer.
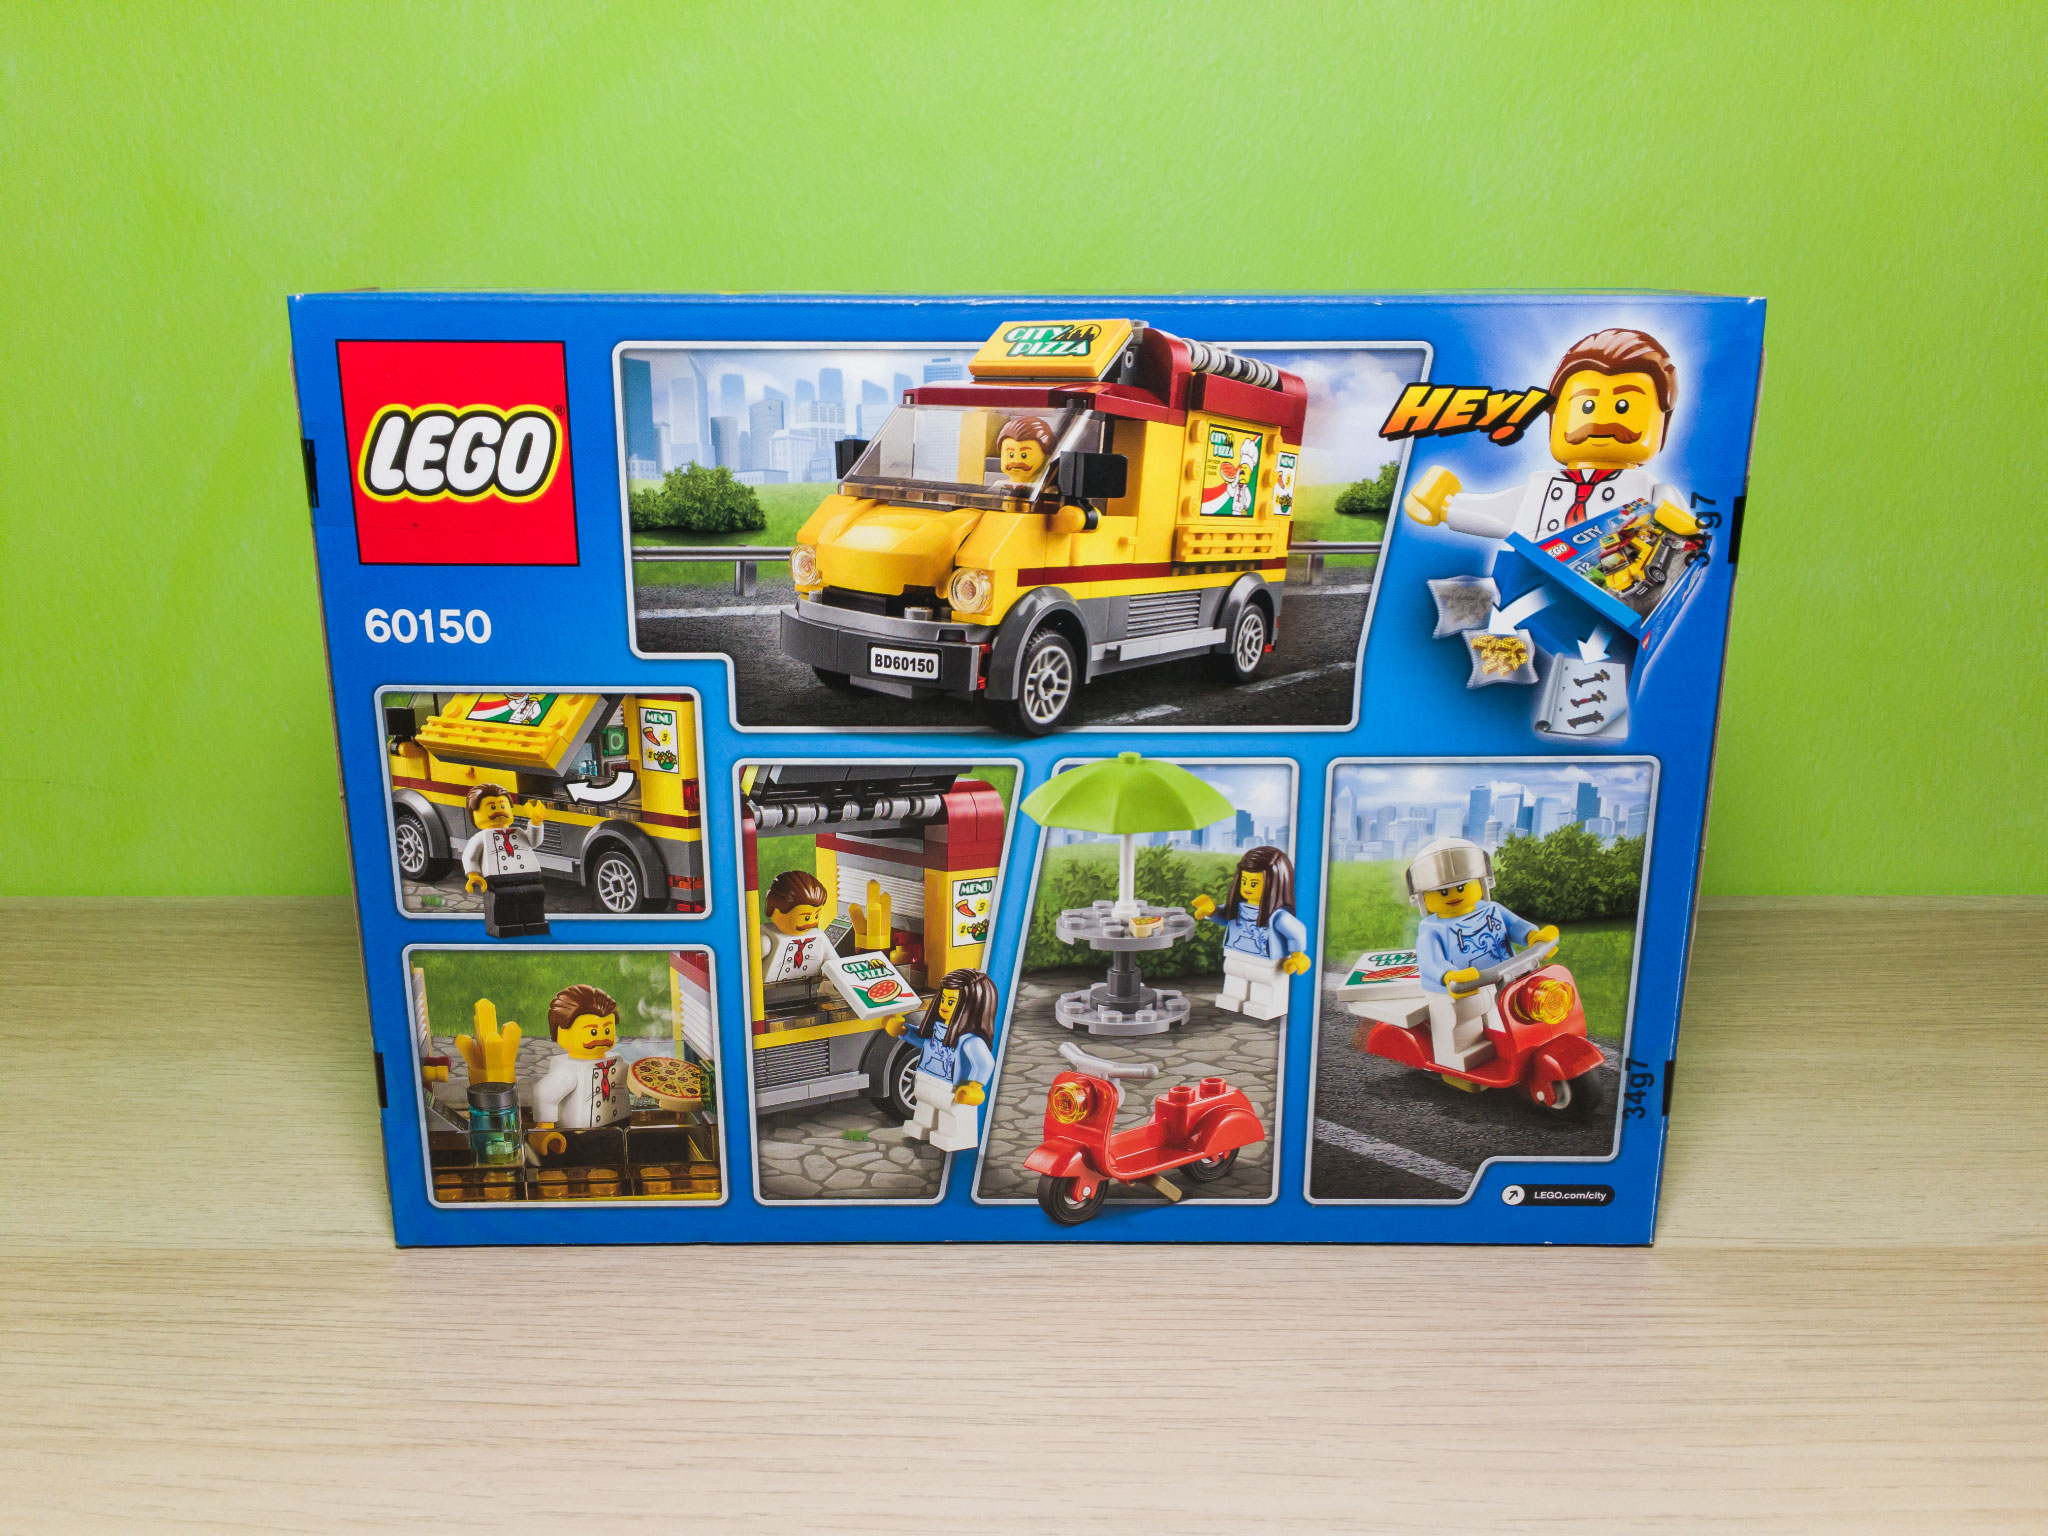
The back of the box shows you some of the features of the set in a typical play scenario. The chef drives the Pizza Van to where he'll be setting up shop. Once there, the sides of the Pizza Van open up to reveal the area where the chef prepares the pizza and some sides (which I'll get to in a minute).
Unfortunately no money elements have been included in this set so either the chef is handing out free pizza, or you'll have to imagine the customer paying! But the chef can hand her the pizza in a box, and she can have a slice at the outdoor table in the shade before taking the remainder home in her scooter.
| 
| ||
| |||
What's inside
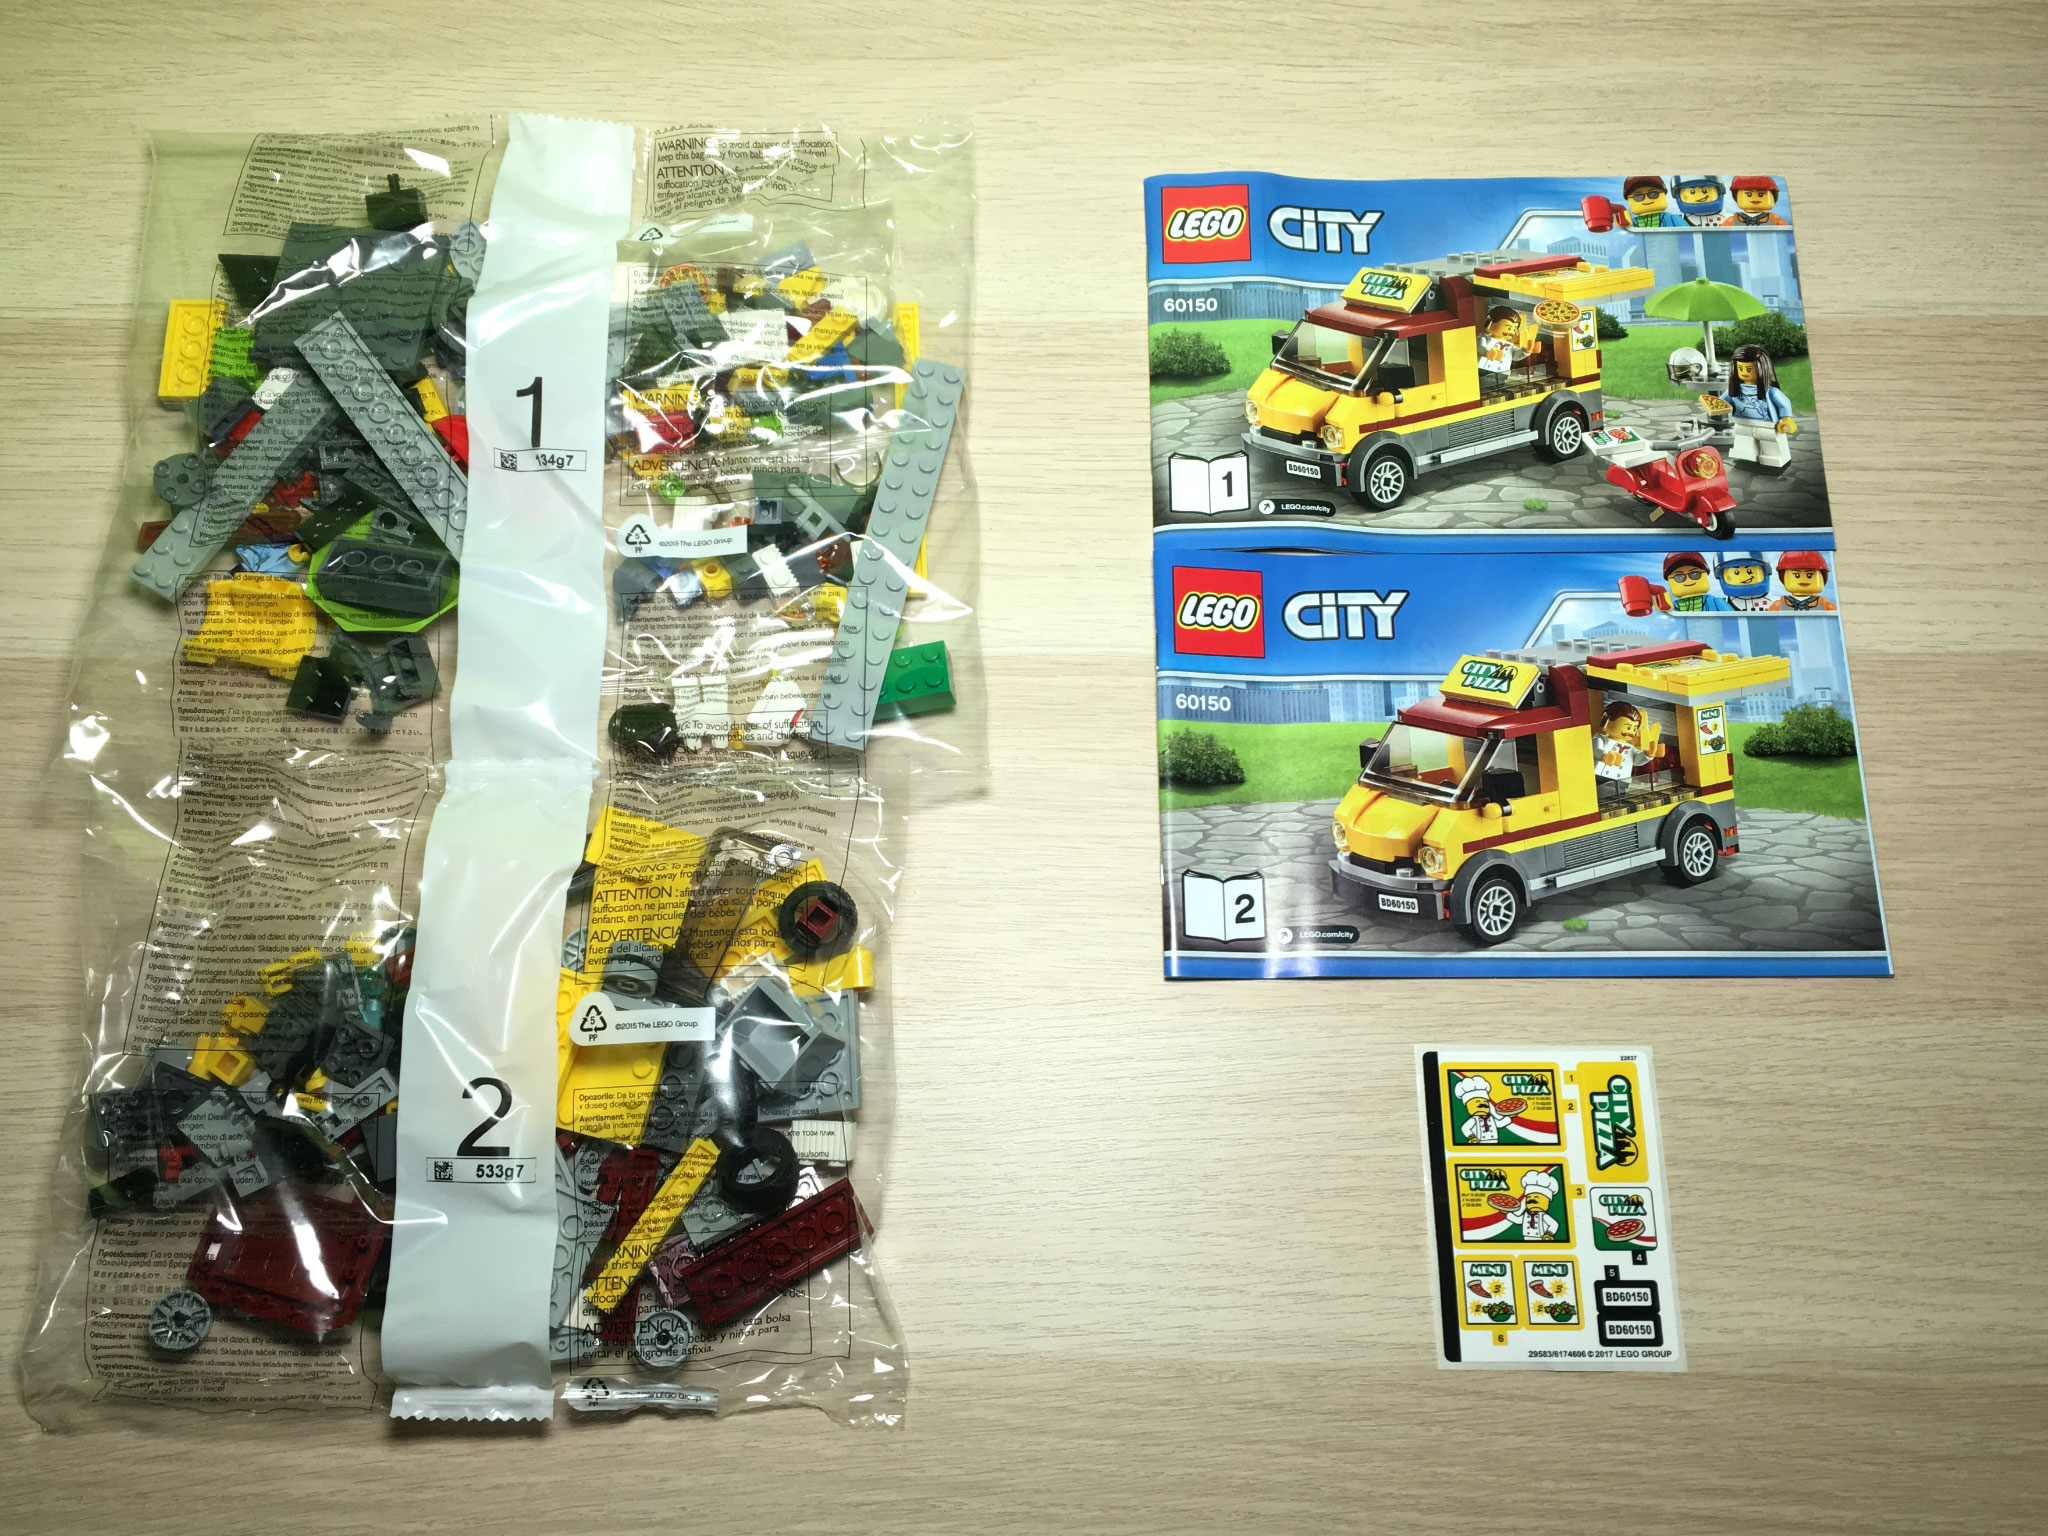
The box contains 2 numbered bags of parts, a sticker sheet, and 2 instruction booklets corresponding to the 2 numbered bags.
The first instruction booklet walks you through assembling both minifigures, the outdoor table, and the scooter, as well as the first half of the Pizza Van.
The second instruction booklet finishes the remainder of the Pizza Van build. The wheels don't get put on until the very end, but we all know that kids will be itching to put them on before you're done with the first set of instructions!
The sticker sheet doesn't appear overwhelming, but parents may want to help their kids with some of the stickers, particularly the two large mirrored ones that go on the opening sides of the Pizza Van. Those are placed in the middle of a border of studs, which will likely get in the way.
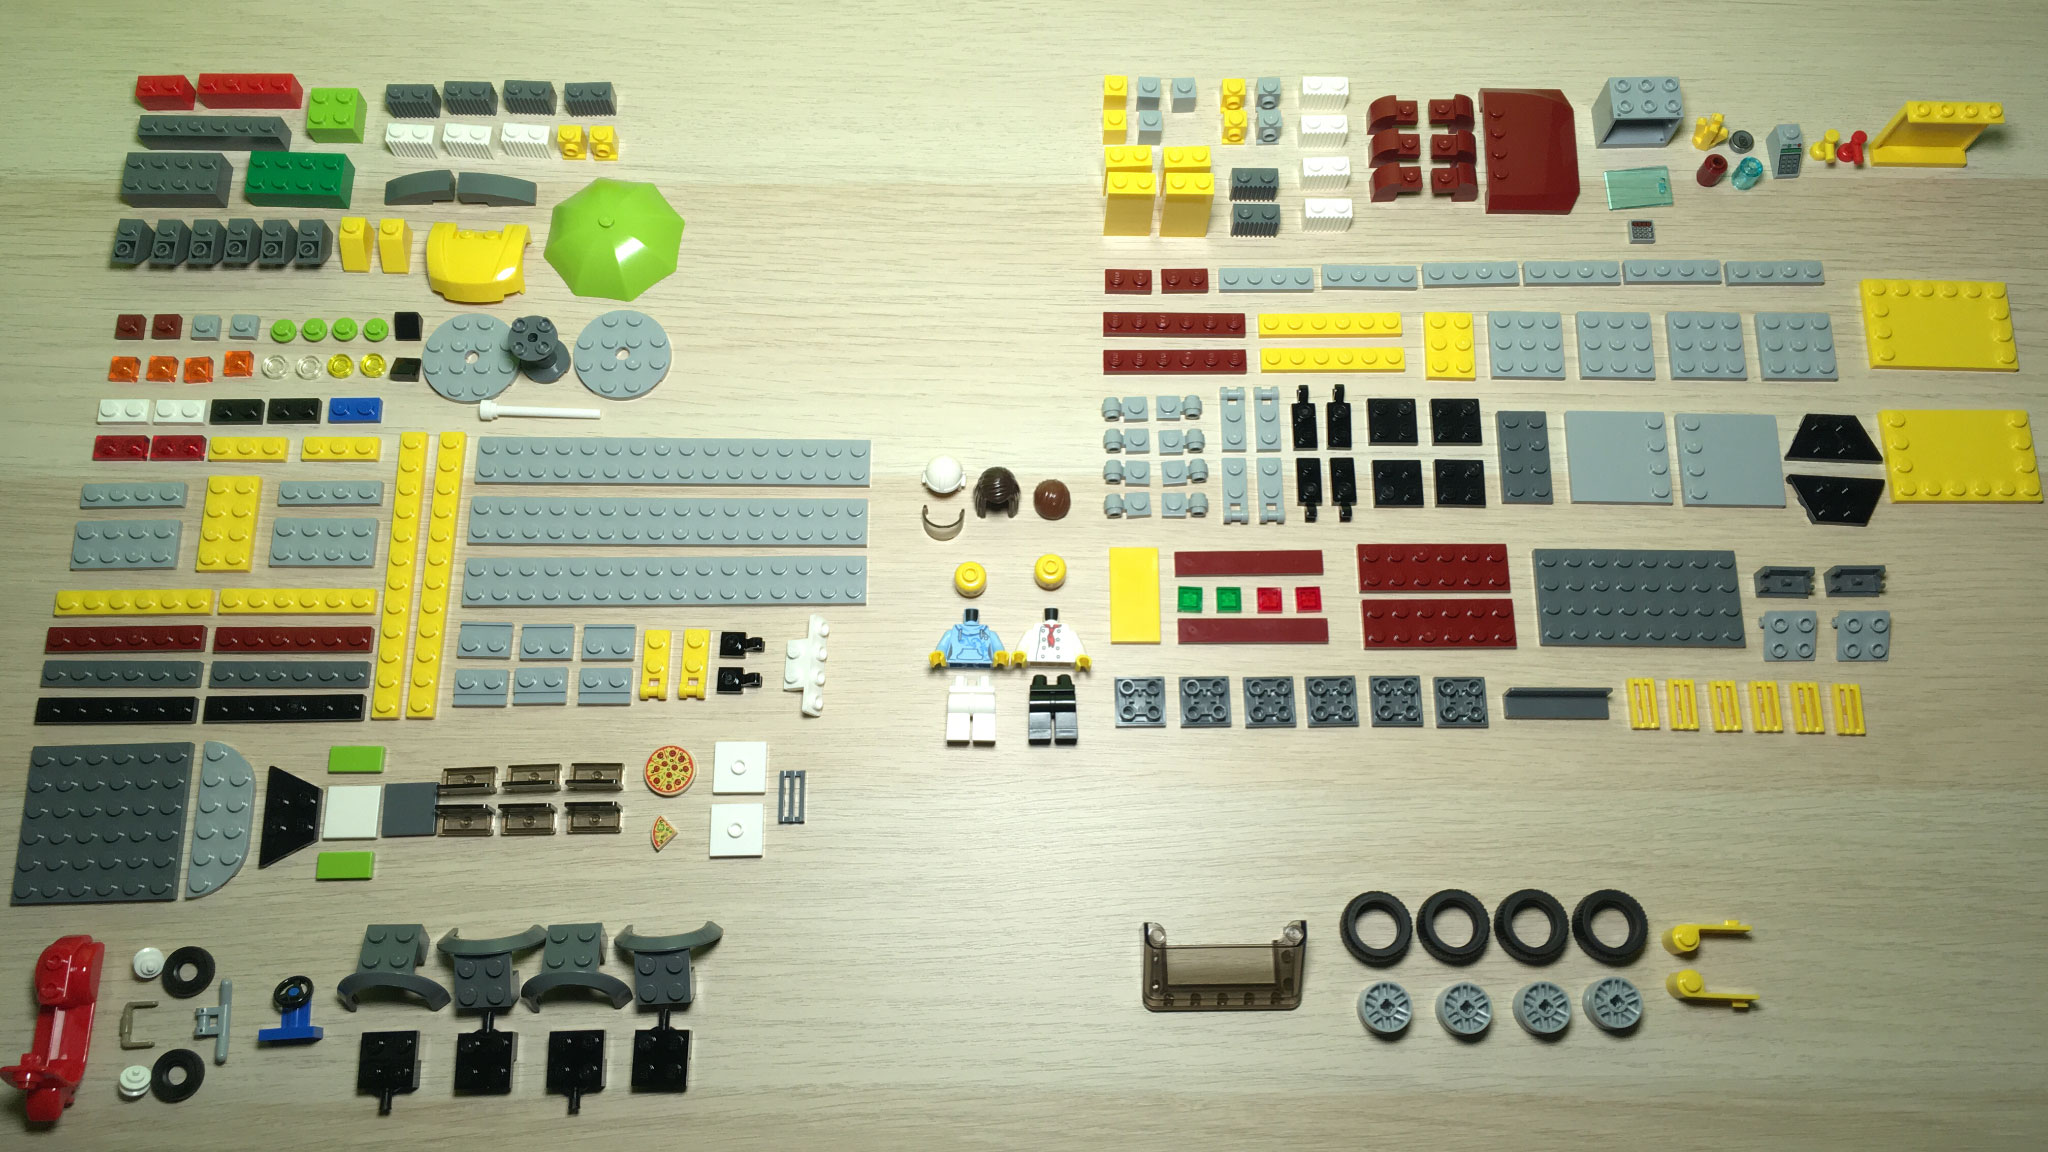
I tried a different approach to knolling this set, by arranging separate bags of parts separately, even if the same element appears in more than one bag. Namely, I arranged parts first by shape, then by color, instead of color first as in my first two reviews. It didn't make much of a difference to how long it took to find parts for each building step, but the end result felt noisy and not very visually cohesive.
In my next set review involving numbered bags (which won't be next week, but sometime next month), I'm going to knoll separate bags of parts separately again, but organize them by color first as I usually do with LEGO Classic sets. I'll let you know how it goes!
New, noteworthy or rare parts
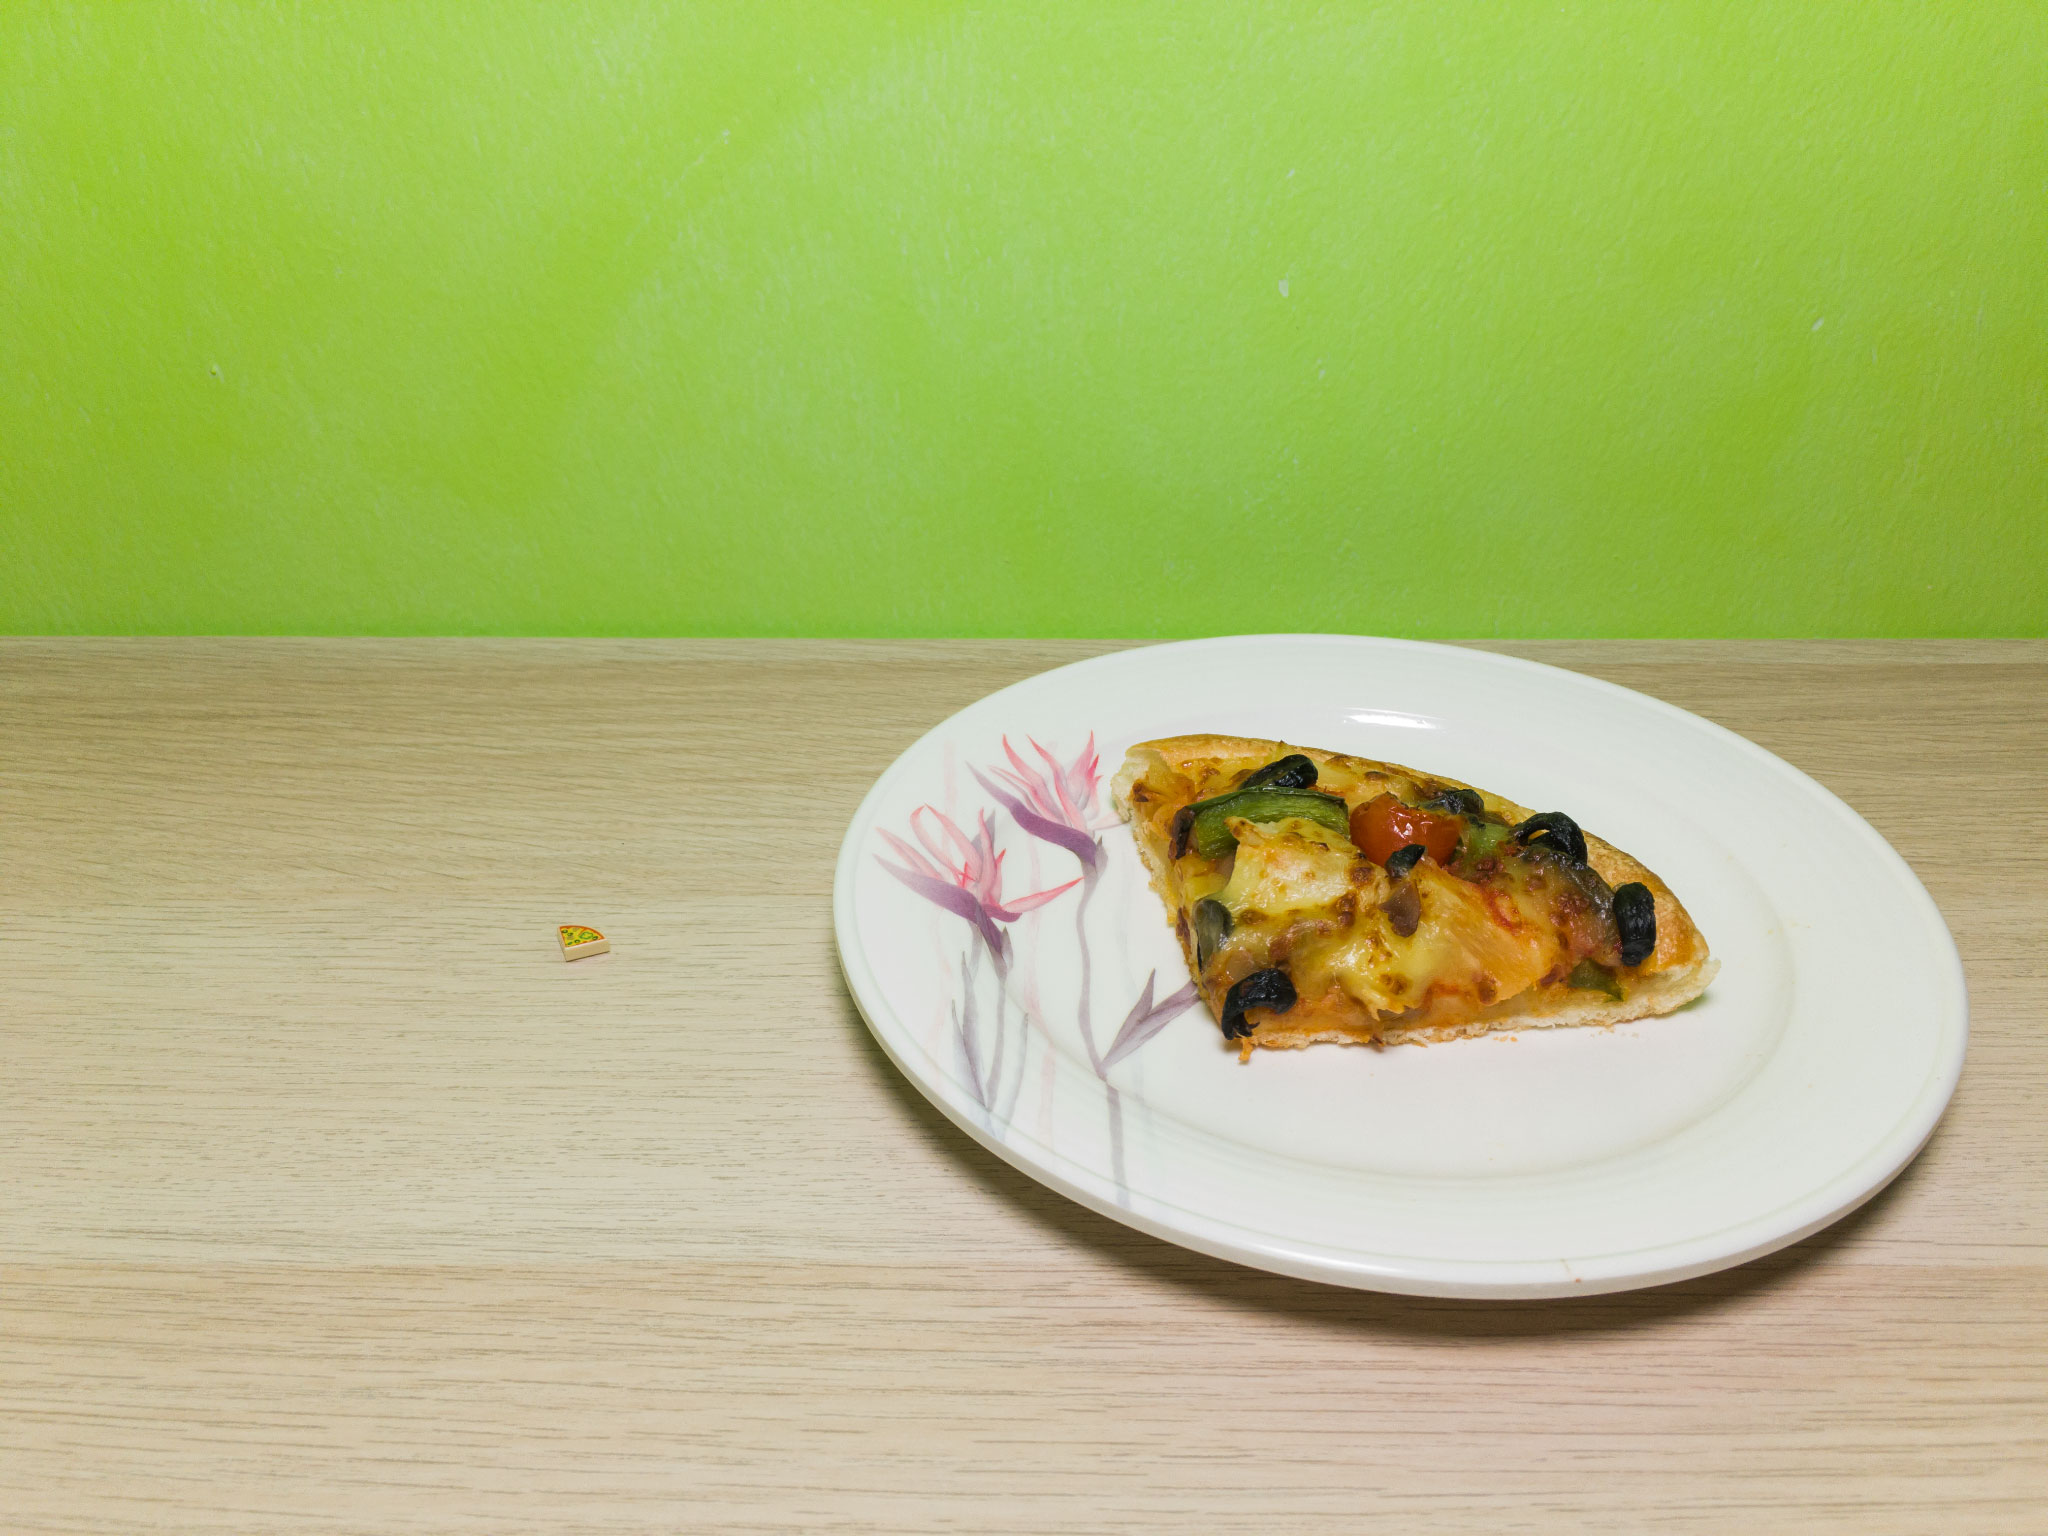
There aren't many new or rare parts in this set, but this is one of several 2017 sets that come with new printed pizza elements, one of which is the brand new, printed 1x1 quarter pizza slice element.
I was so excited about this set, and this element, that I even ordered my first Veggie Lover's pizza from Pizza Hut to try after I was done building it! The new pizza slice element's toppings are almost identical to that specific pizza! (And I enjoyed the real pizza, too!)
I'm not nearly as big on pepperoni, though. But I know someone who'd love the new printed 2x2 whole pepperoni pizza!
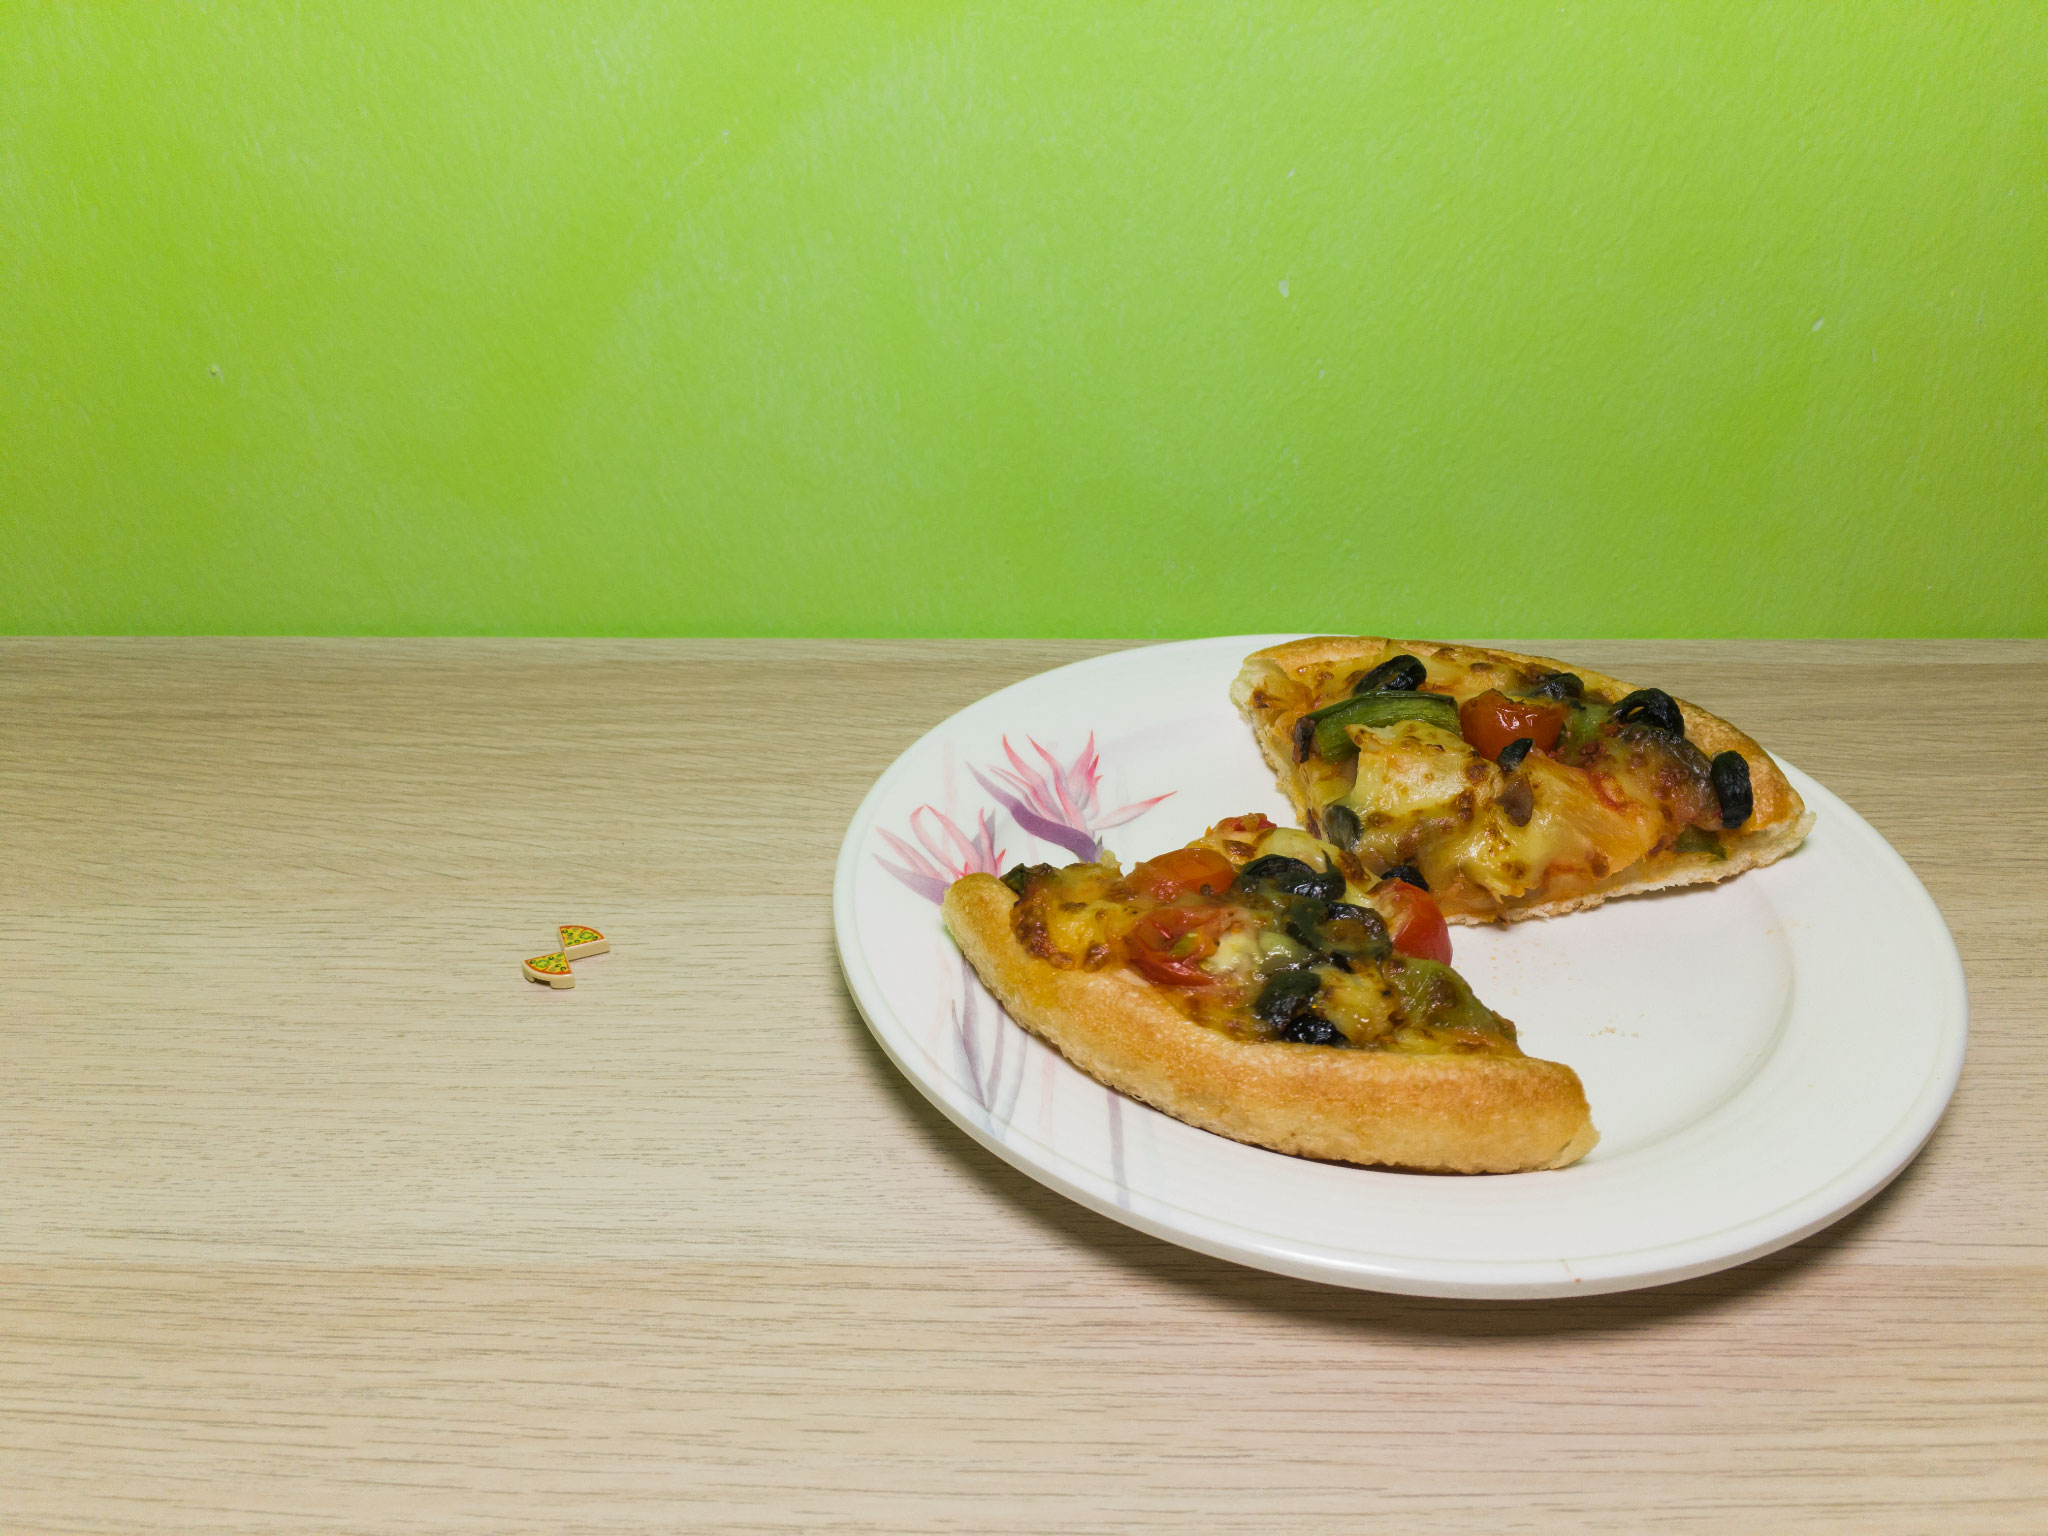
It's only a shame that this set comes with the bare minimum of pizza elements, one whole and two slices if you count the spare that's included by virtue of being a 1x1 tile. Two whole pizza pies and one more slice would have been great, but then again, it'd also necessitate having at least one more customer minifigure, which combined with the additional pizza elements would have bumped up the price of this set by 5 bucks in most regions, I reckon.
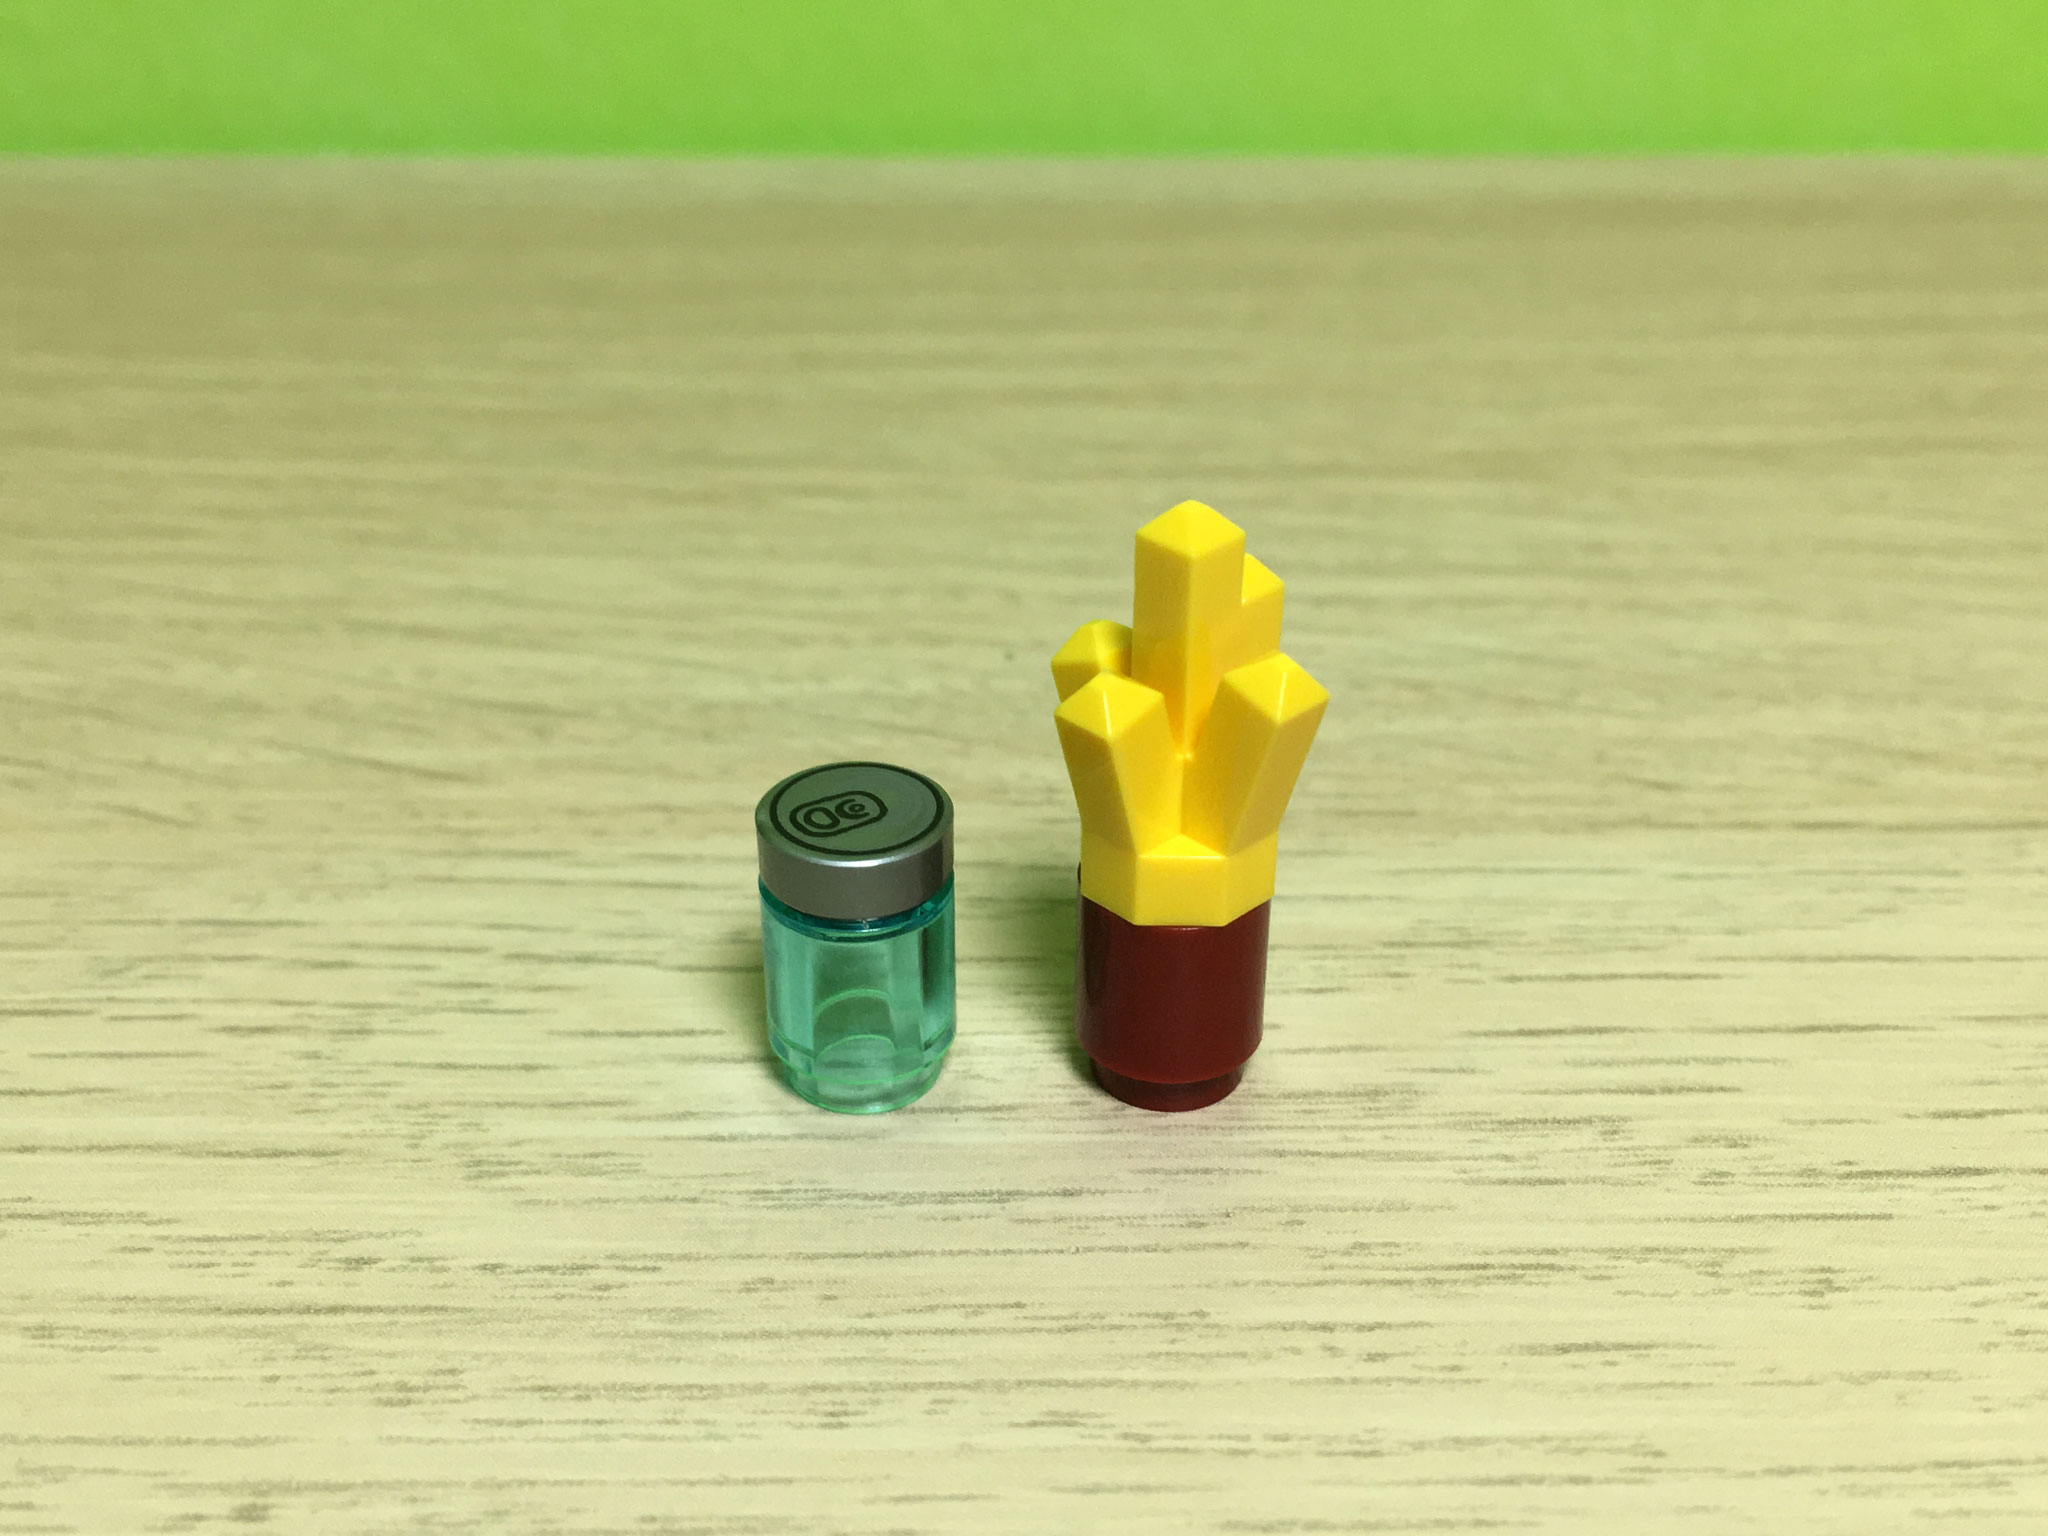
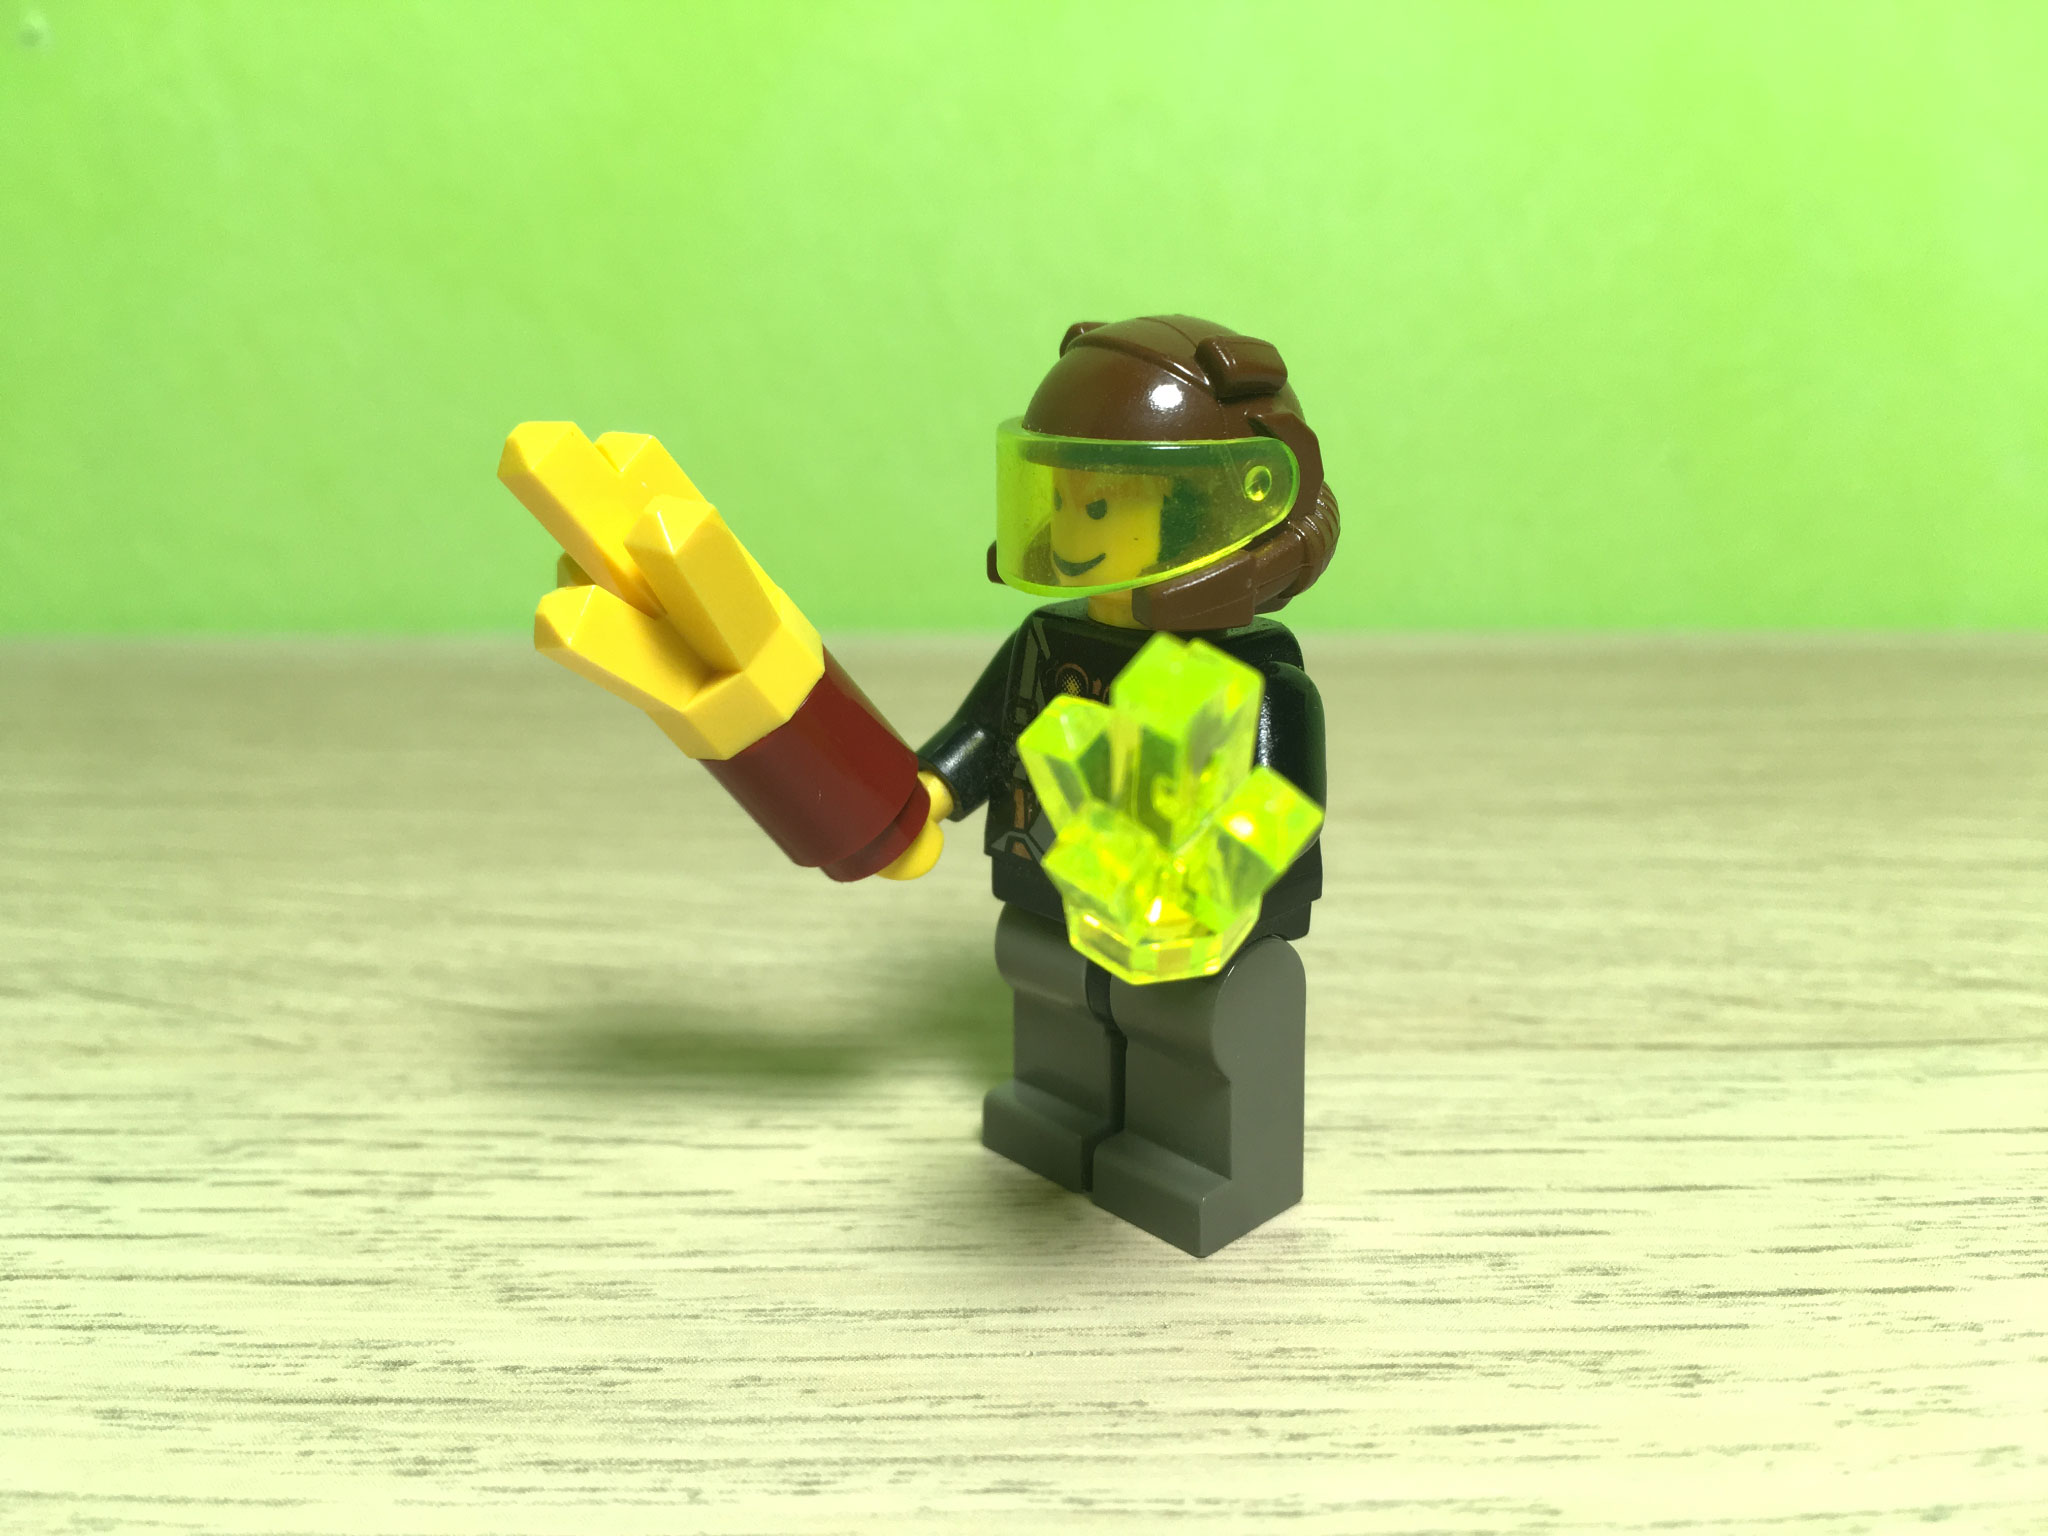
On the bright side, this set also comes with a canned drink and some French fries. The French fries use the same 5-point crystal element found in LEGO Aquazone and LEGO Rock Raiders (and LEGO Power Miners for those who grew up in the late 00s), repurposed in solid yellow which makes for a good look for French fries. This actually first appeared in 2014's 41058 Heartlake Shopping Mall, but would not be seen again for another 2 and a half years.

| 
| 
| 
|
| |||
| 
| ||
| |||
Building instructions
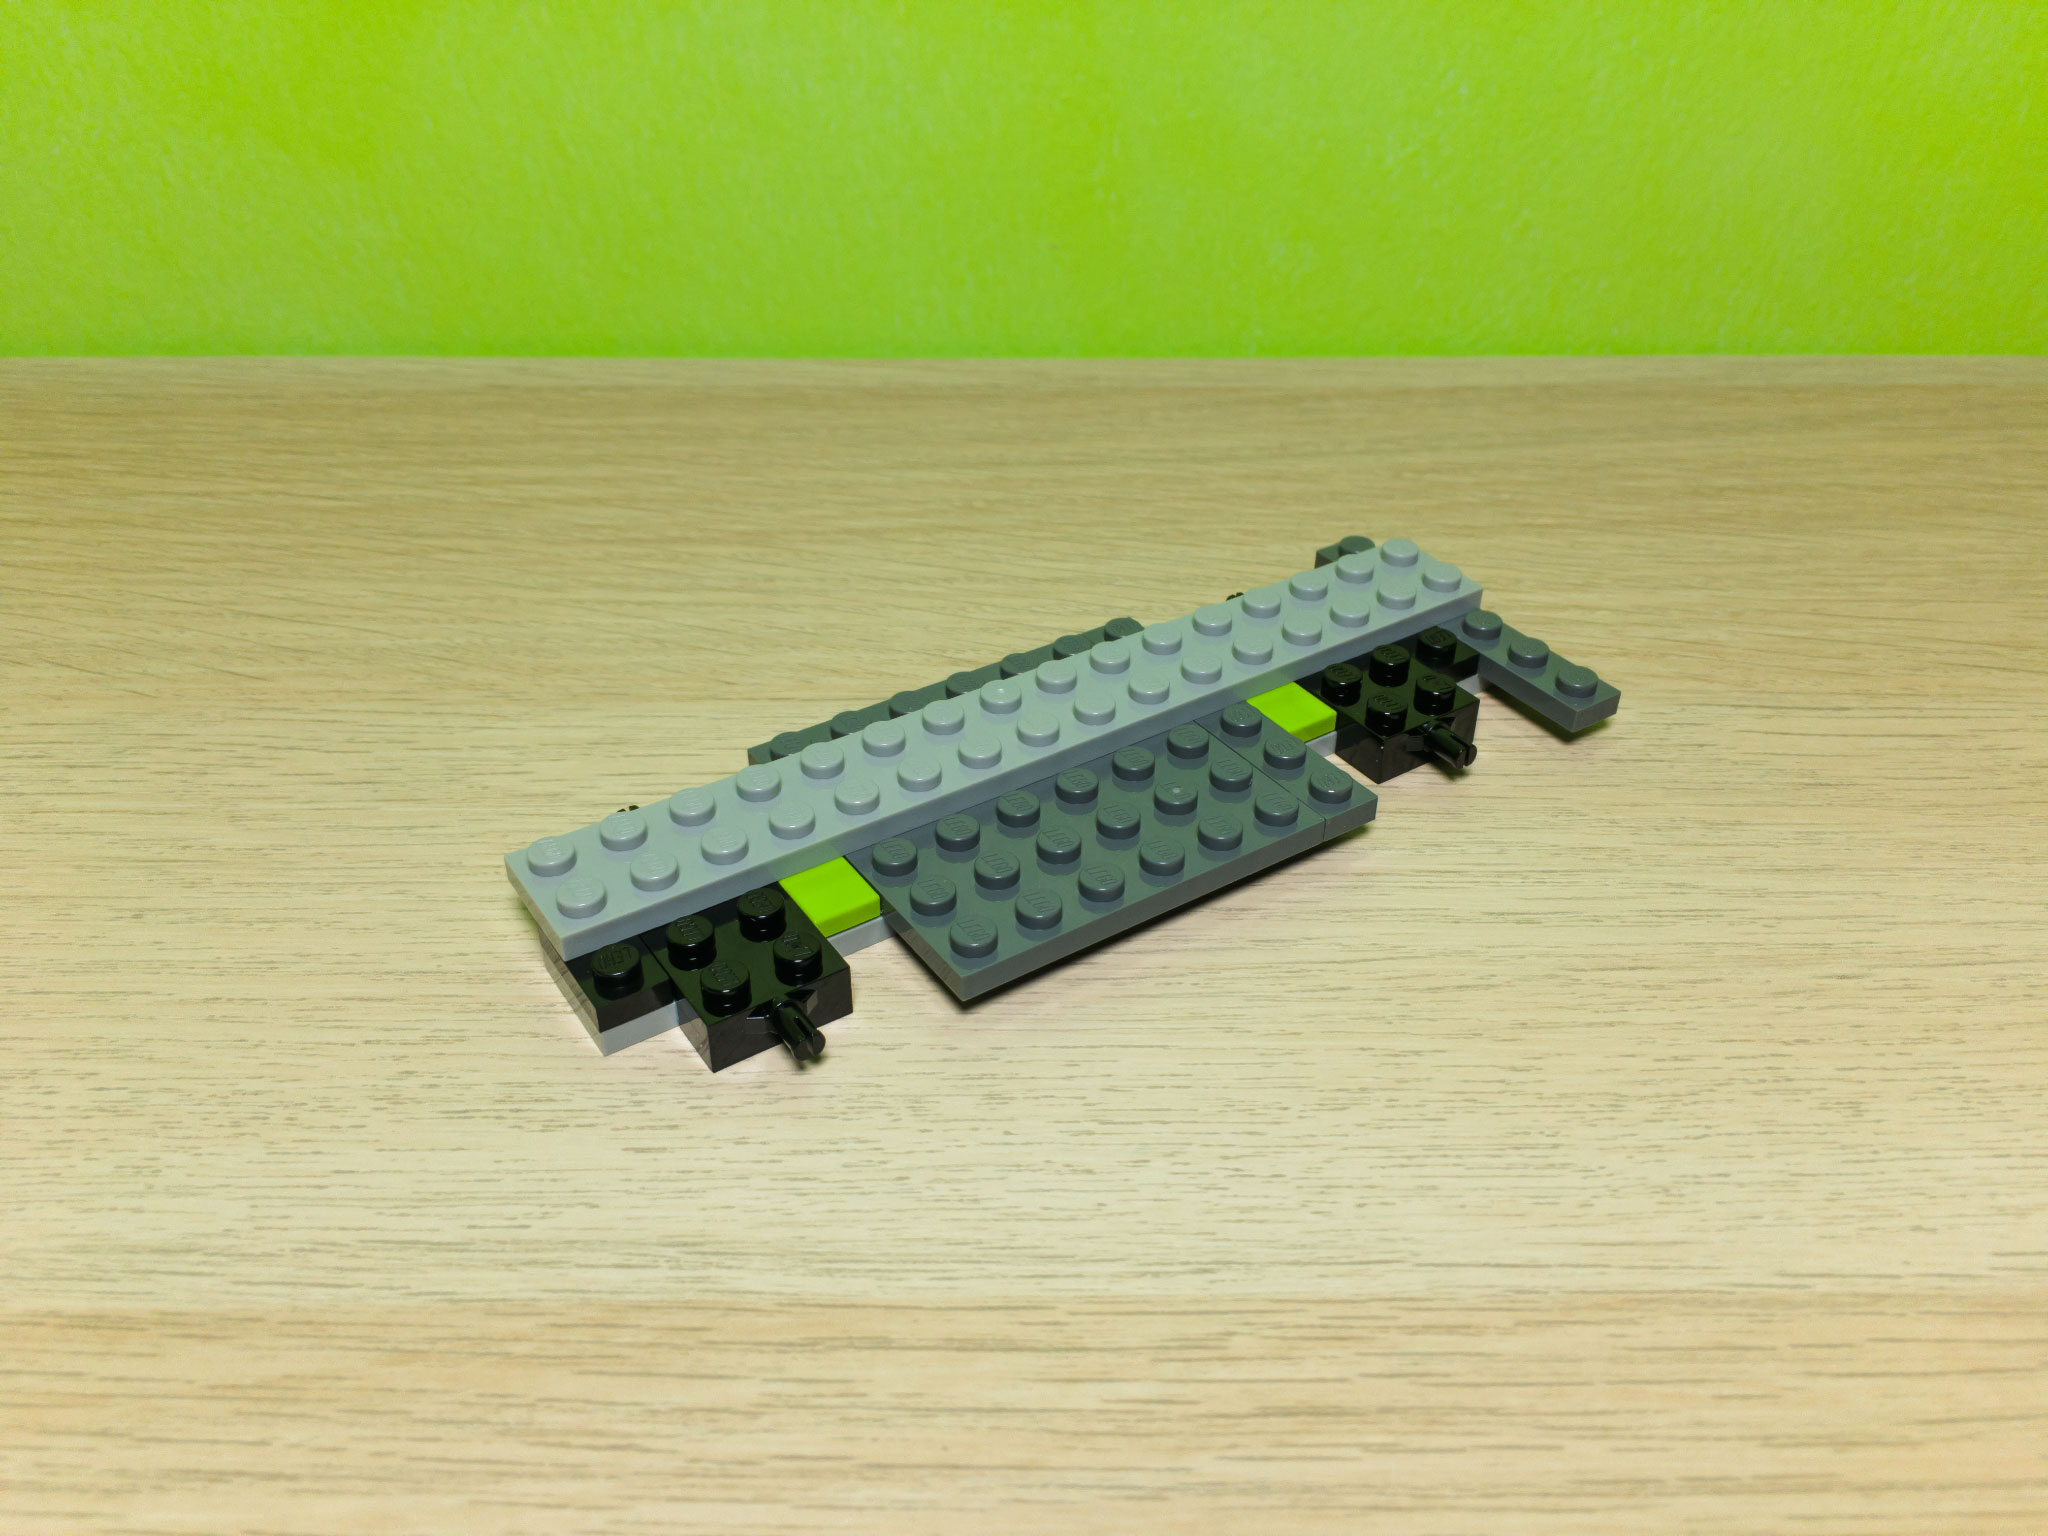
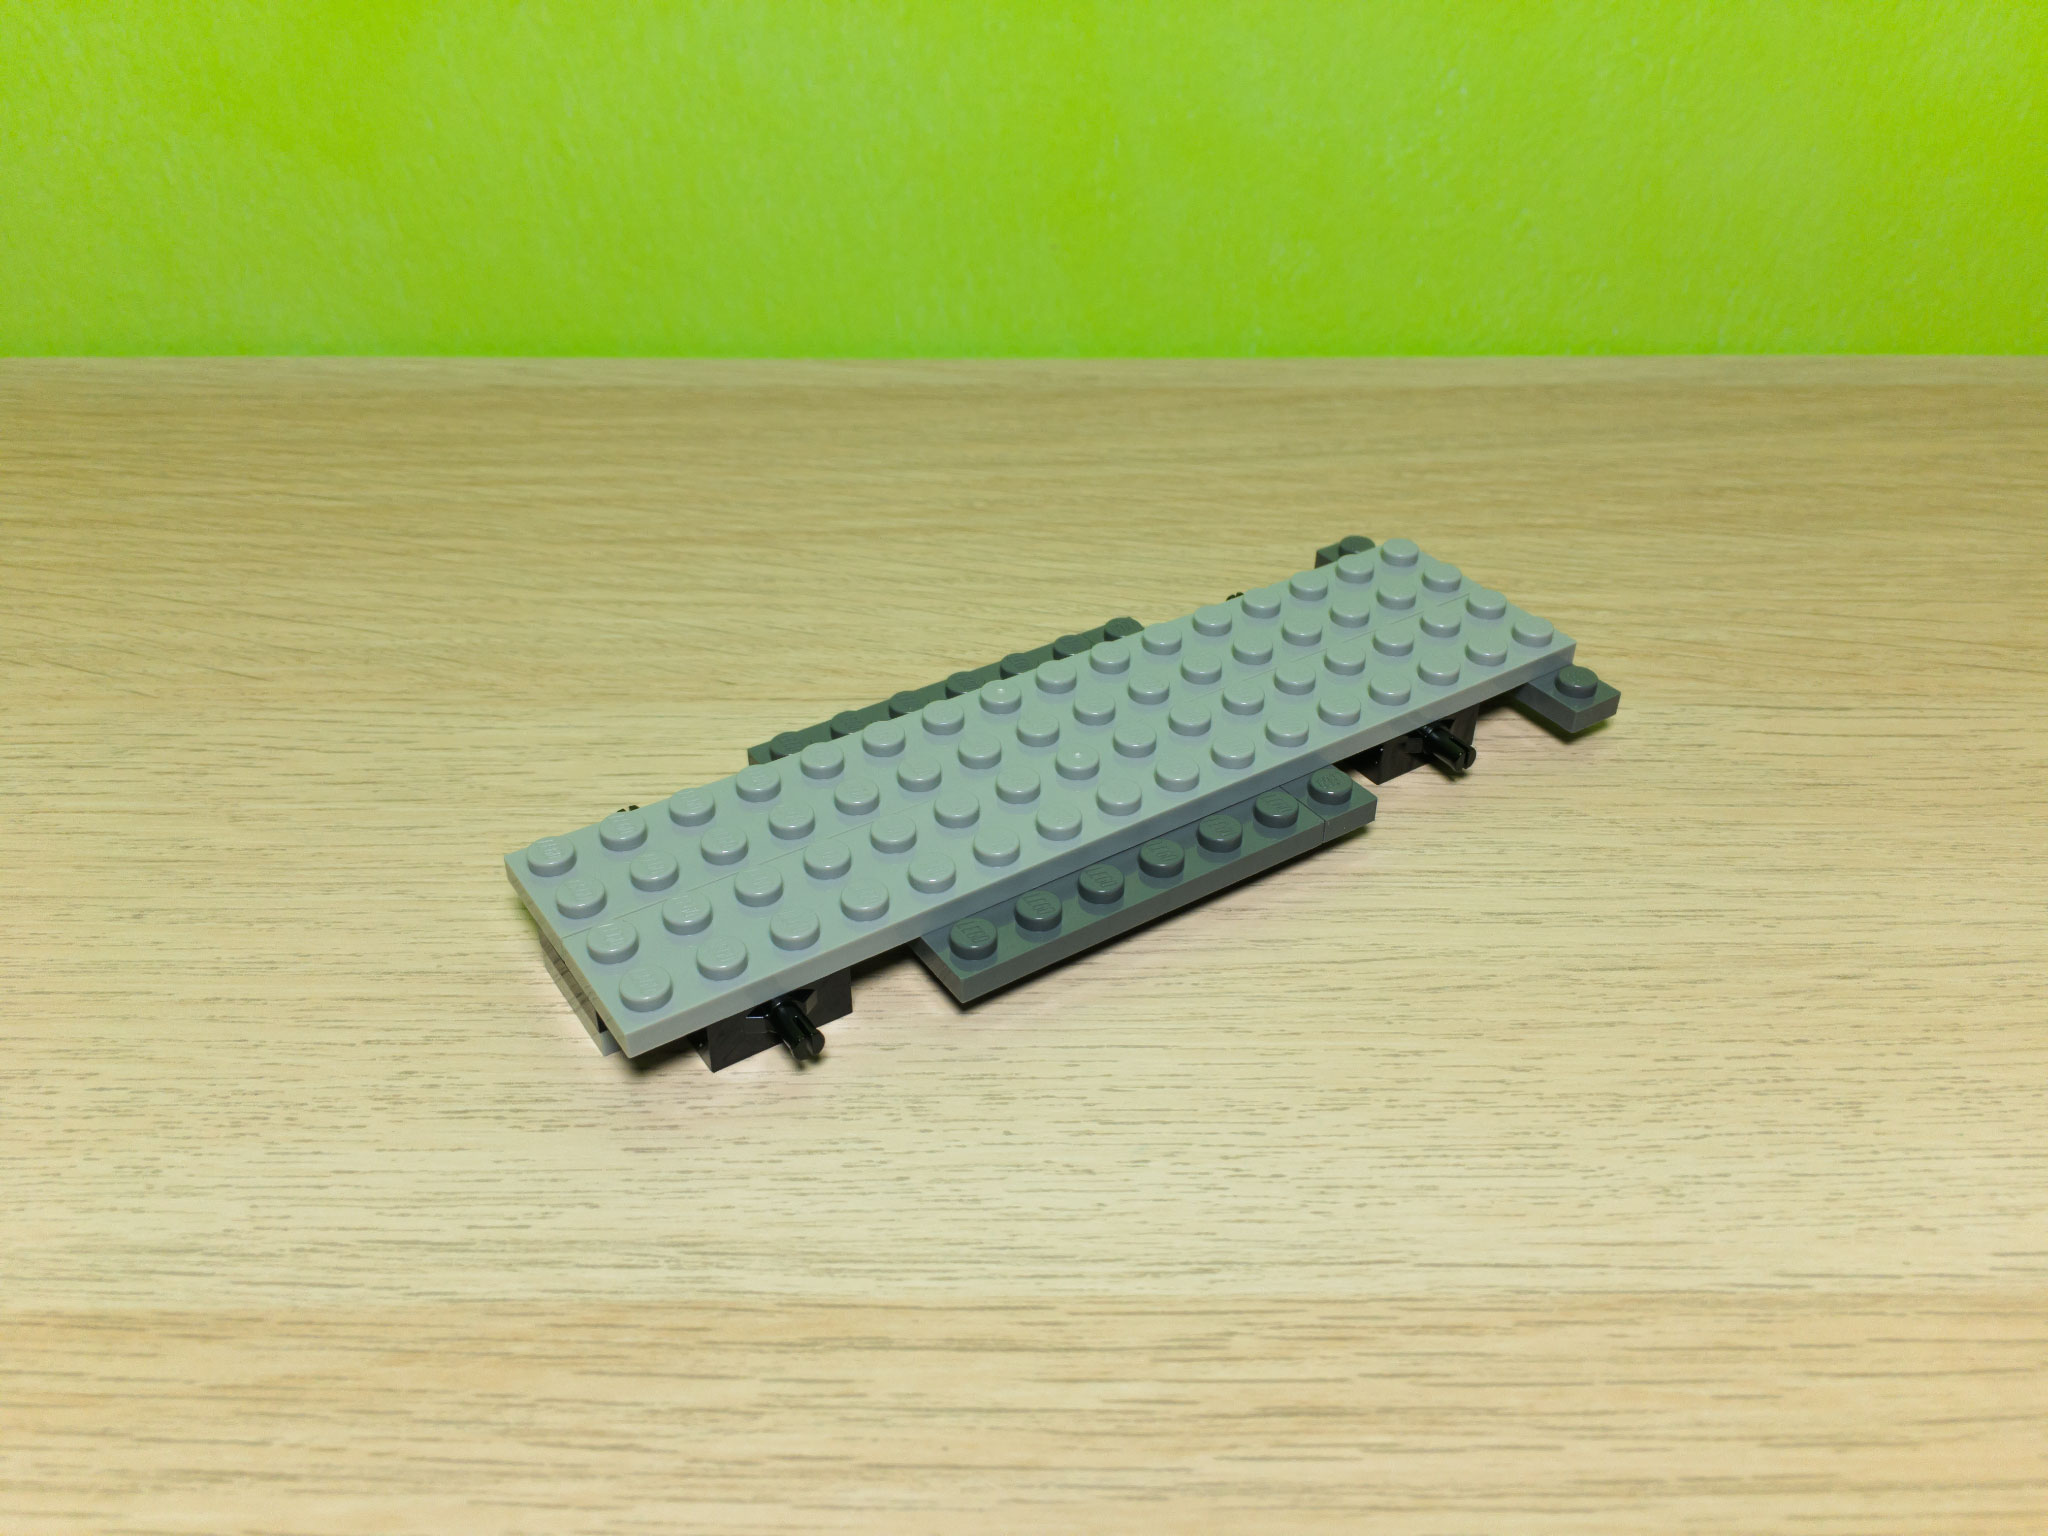
One thing I found interesting about the building instructions is the fact that the first few steps of building the Pizza Van (in booklet 1) have you place lime green 1x2 tiles in specific positions and black 1x2 plates in others. These then get covered completely by light grey 2x16 plates (although you can still see them just behind the wheels and mudguards of the finished model). A similar use of tiles appears in other LEGO City vehicles, such as the ambulance in 60204 LEGO City Hospital.
I asked a question on Bricks Stack Exchange about this, then eventually asked one of the set designers at LEGO directly. I summarized his replies in a self-answer to my question, but here's the gist in my own words:
So, it's an interaction of several factors including ease of following the instructions, as well as ease of physically attaching elements together (and, presumably in turn, disassembling them).
| 
| ||
| |||
Minifigures
This set includes two minifigures: a chef and a customer. The customer doesn't have any special attire and so you can actually give her any role you want. For example, she could instead be a delivery driver working for either City Pizza or an imaginary LEGO City food delivery company (think Deliveroo, foodpanda, or Uber Eats), and the scooter could double as her work vehicle.
Whatever she may be, this set also includes a motorbike helmet to protect her head when she's on the road.
I gotta admit, I'm still not used to minifigures having prints on the backs of their torsos. I've seen more than my fair share of those playing LEGO Universe and LEGO Minifigures Online, but to actually see them on physical minifigures of my own for the first time is quite something else.

| 
| ||
| |||
The models
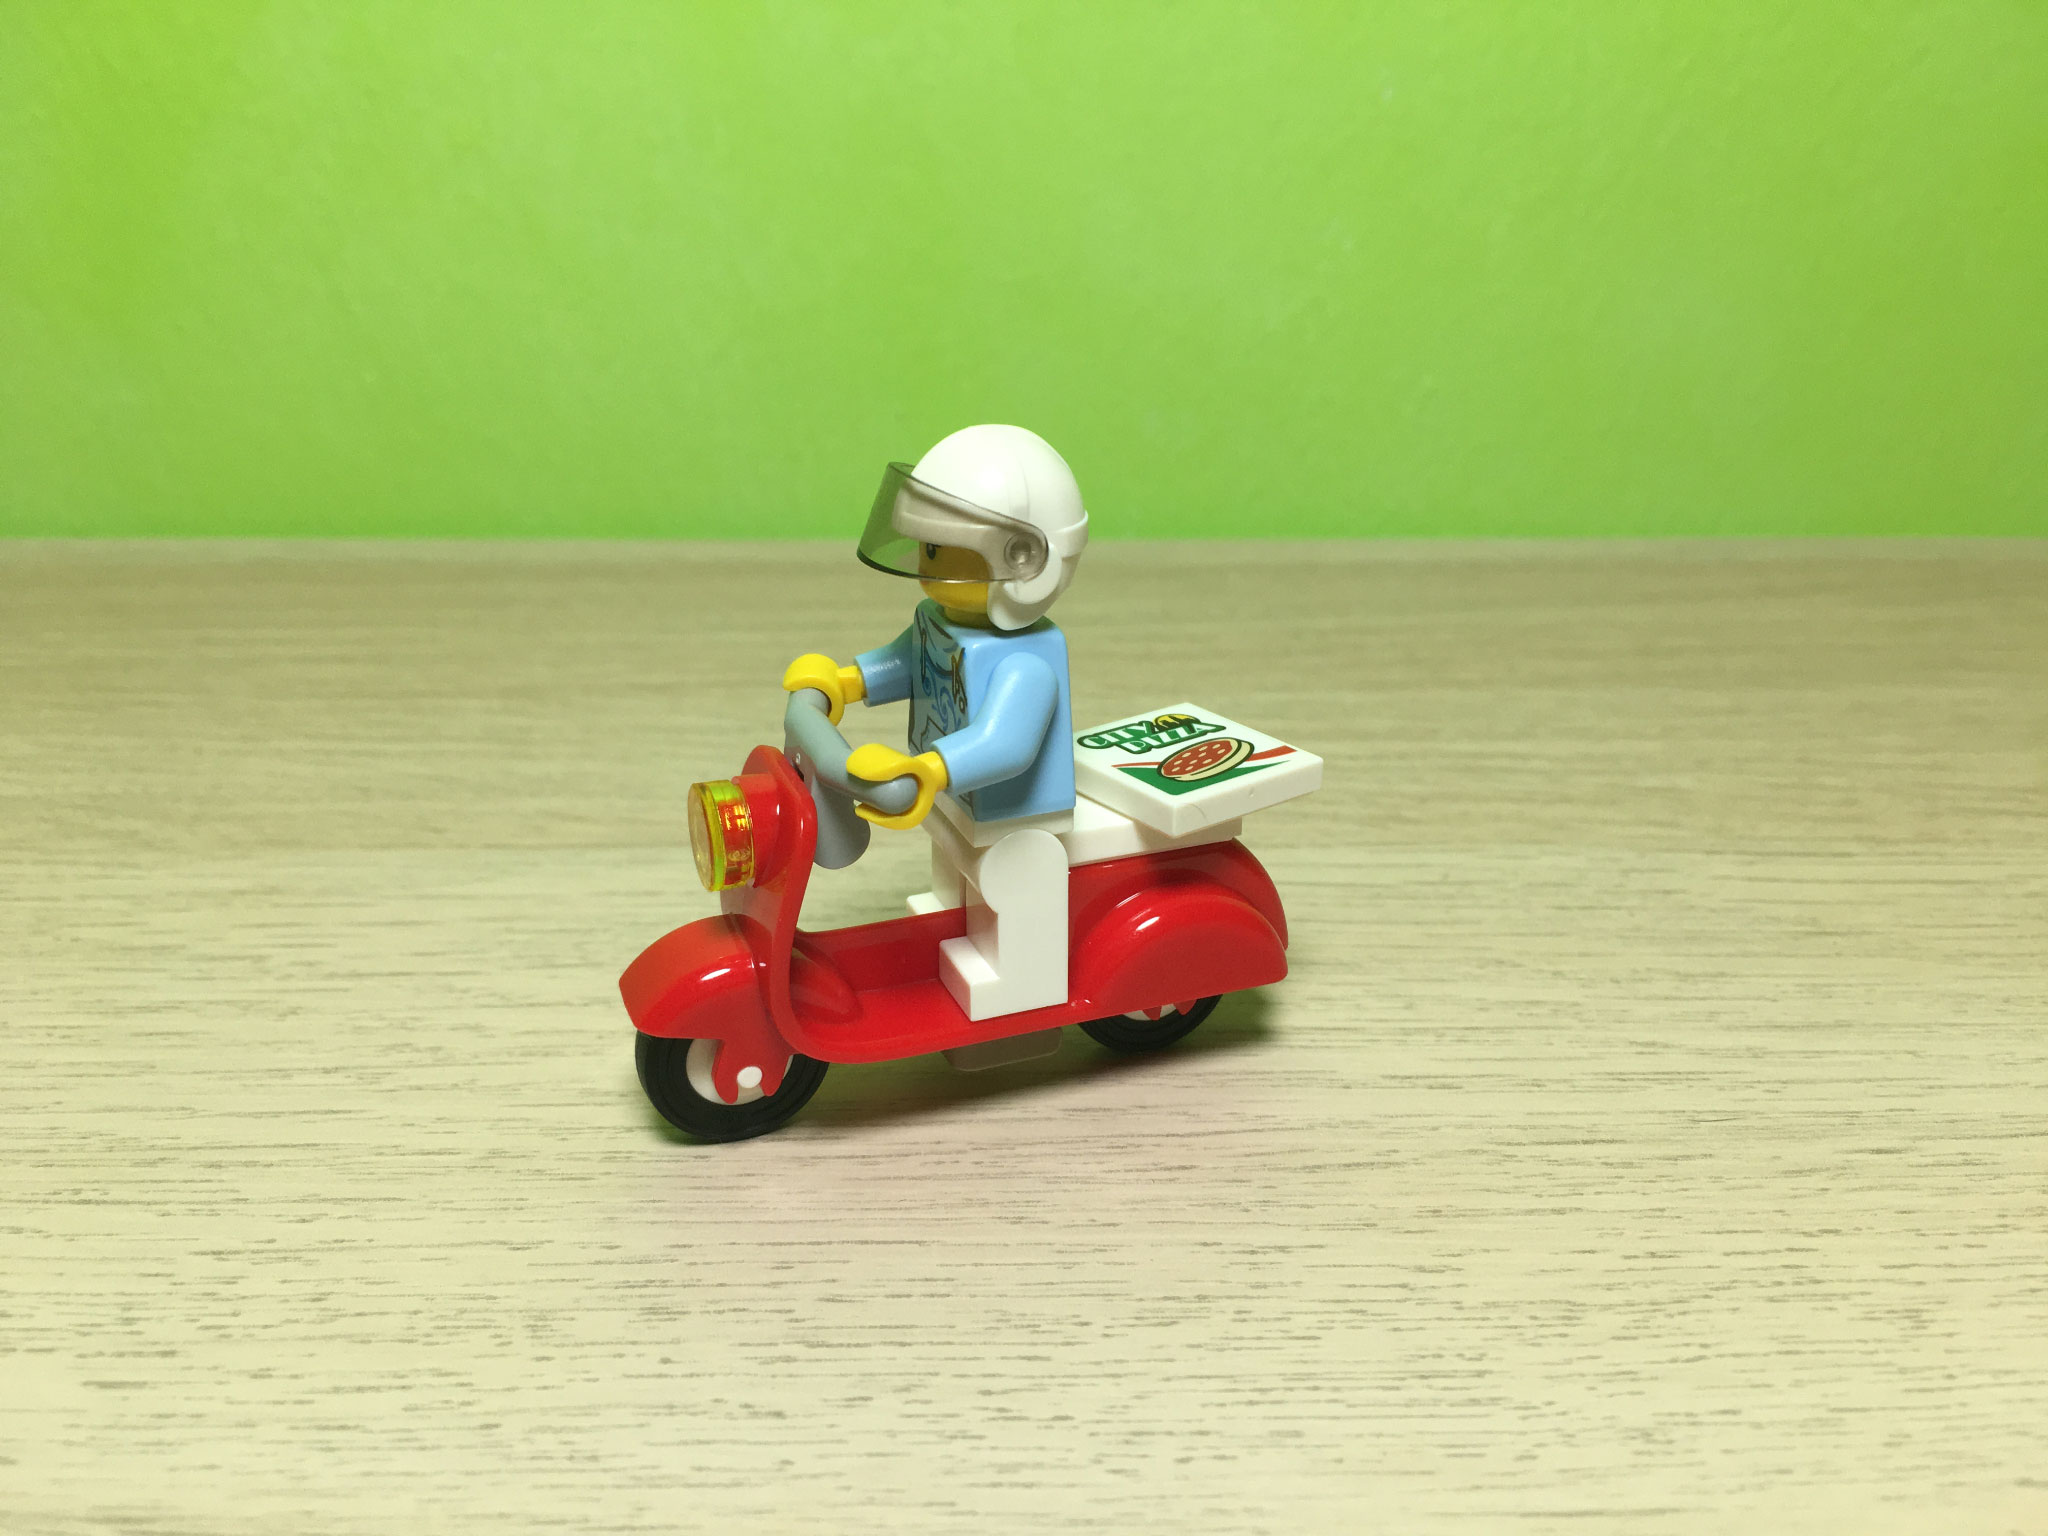
While we're talking about the scooter, let's first take a quick look at that before moving on to the Pizza Van.
The scooter has a kickstand that's represented by a bucket handle, which is really clever as the two ends balance out the two wheels very nicely. Flip it up and your scooter is ready to hit the road, but don't forget your helmet!
There is a white 2x2 jumper plate at the rear of the scooter for attaching the stickered 2x2 tile representing a pizza box with the City Pizza branding.
One last thing... I found it exceedingly difficult to fit the tires onto the wheels of the scooter compared to the Pizza Van for some reason; I don't know if it's just me, but parents may want to keep this in mind since kids generally have trouble putting tires on LEGO wheels.
Now, on to the Pizza Van itself!
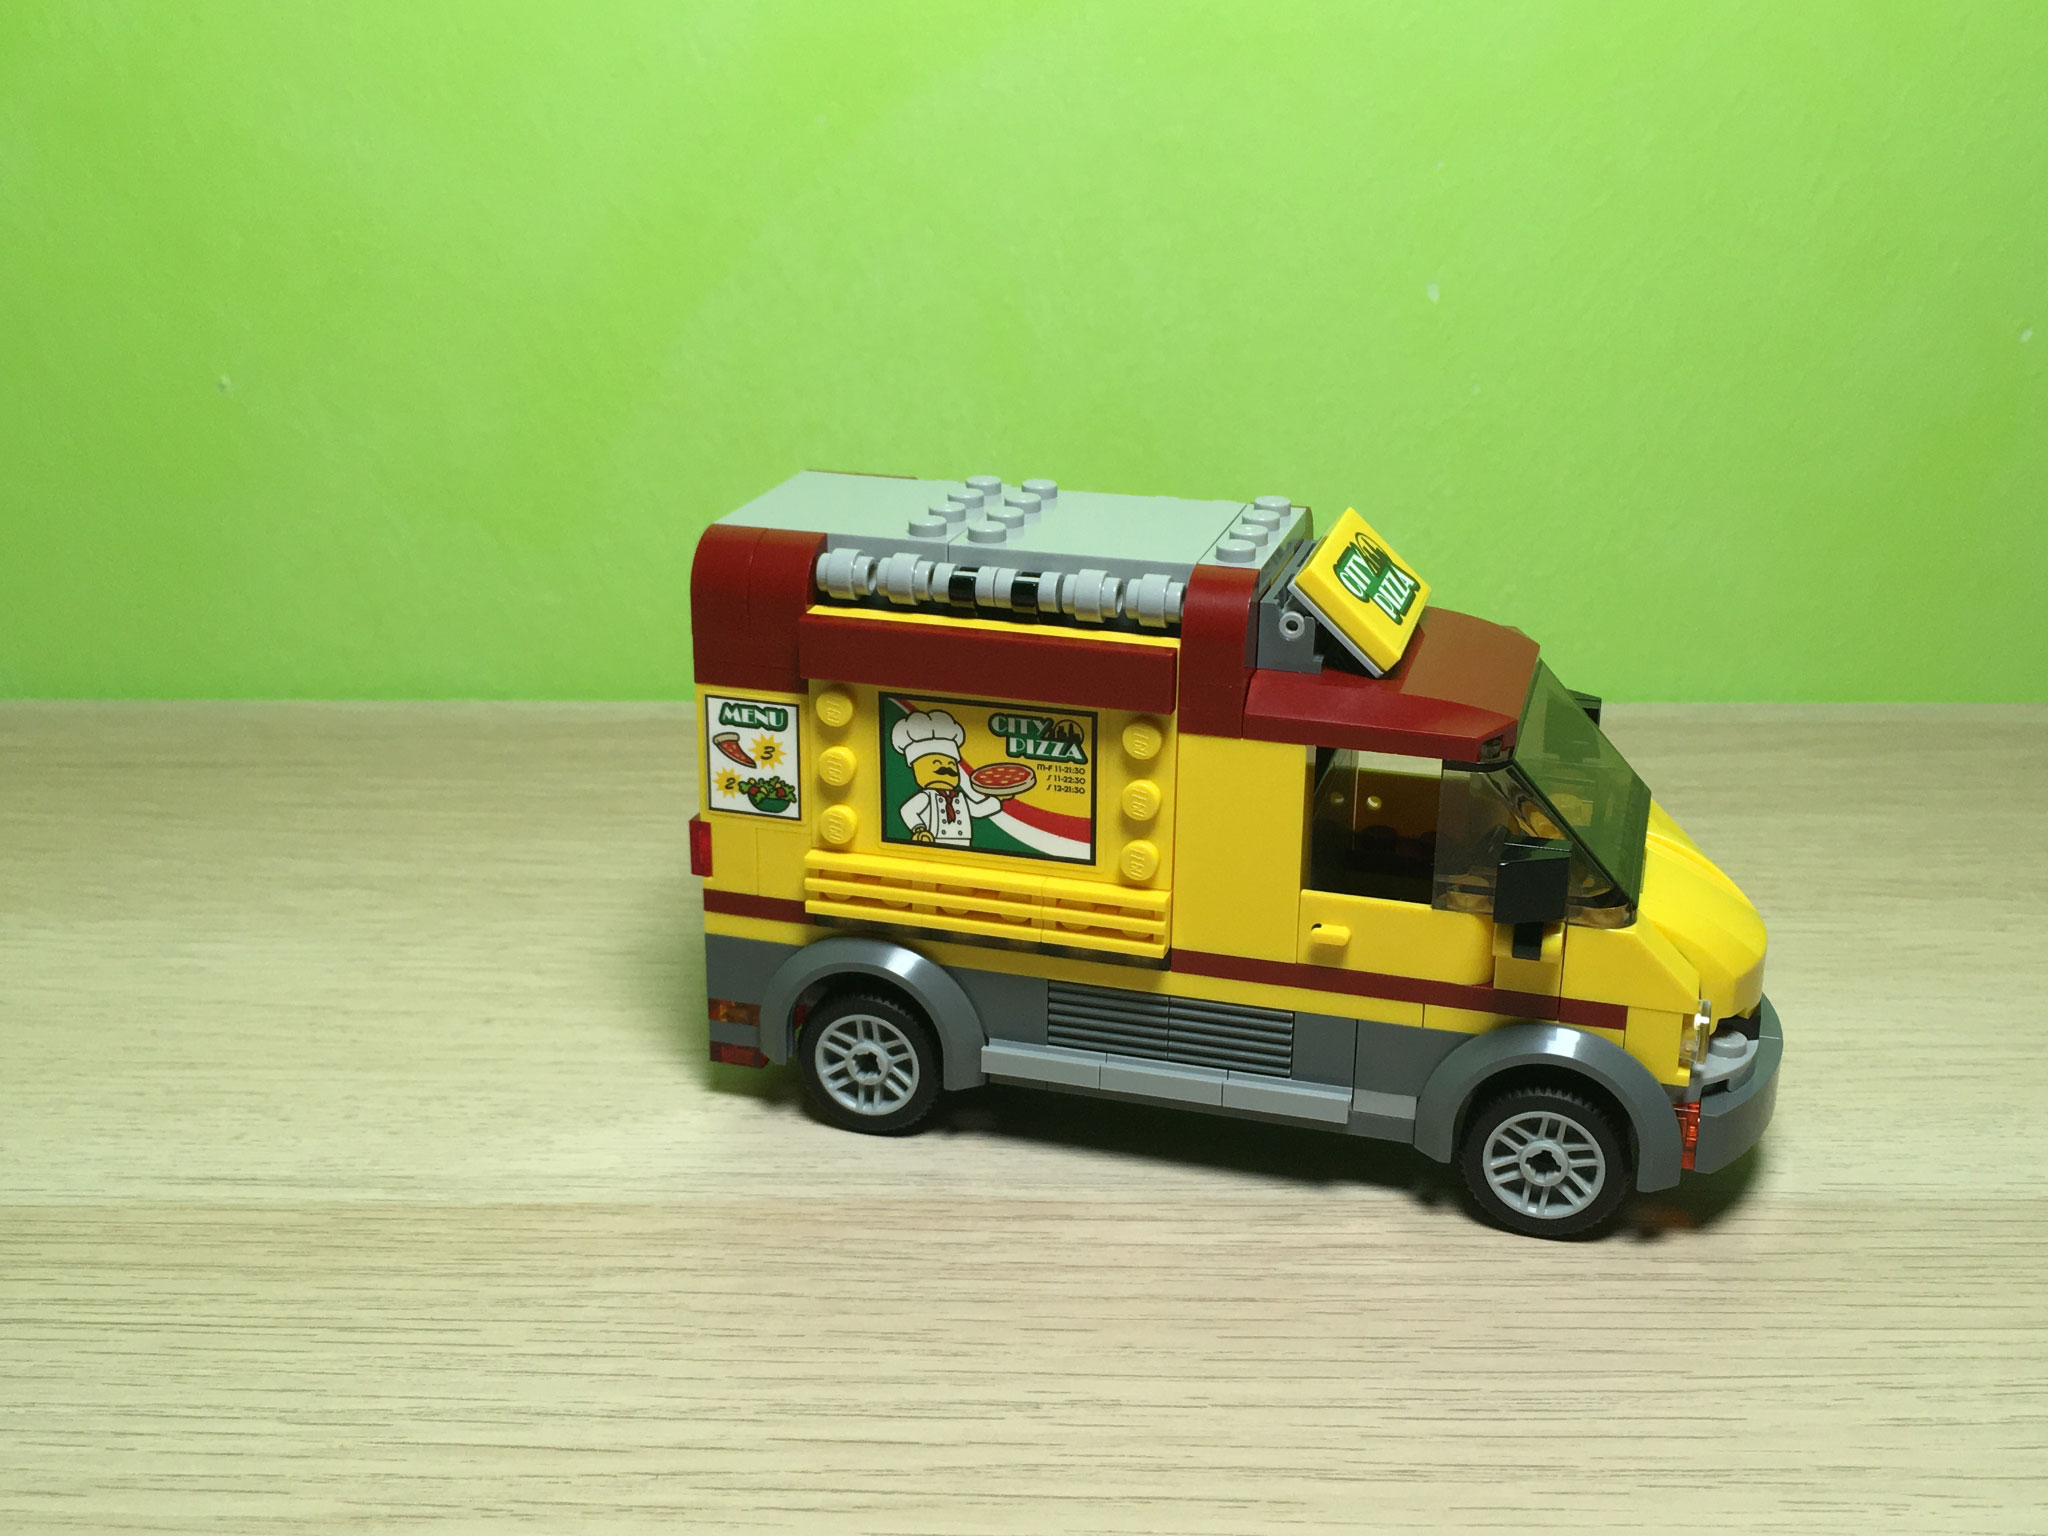
Pizza Van
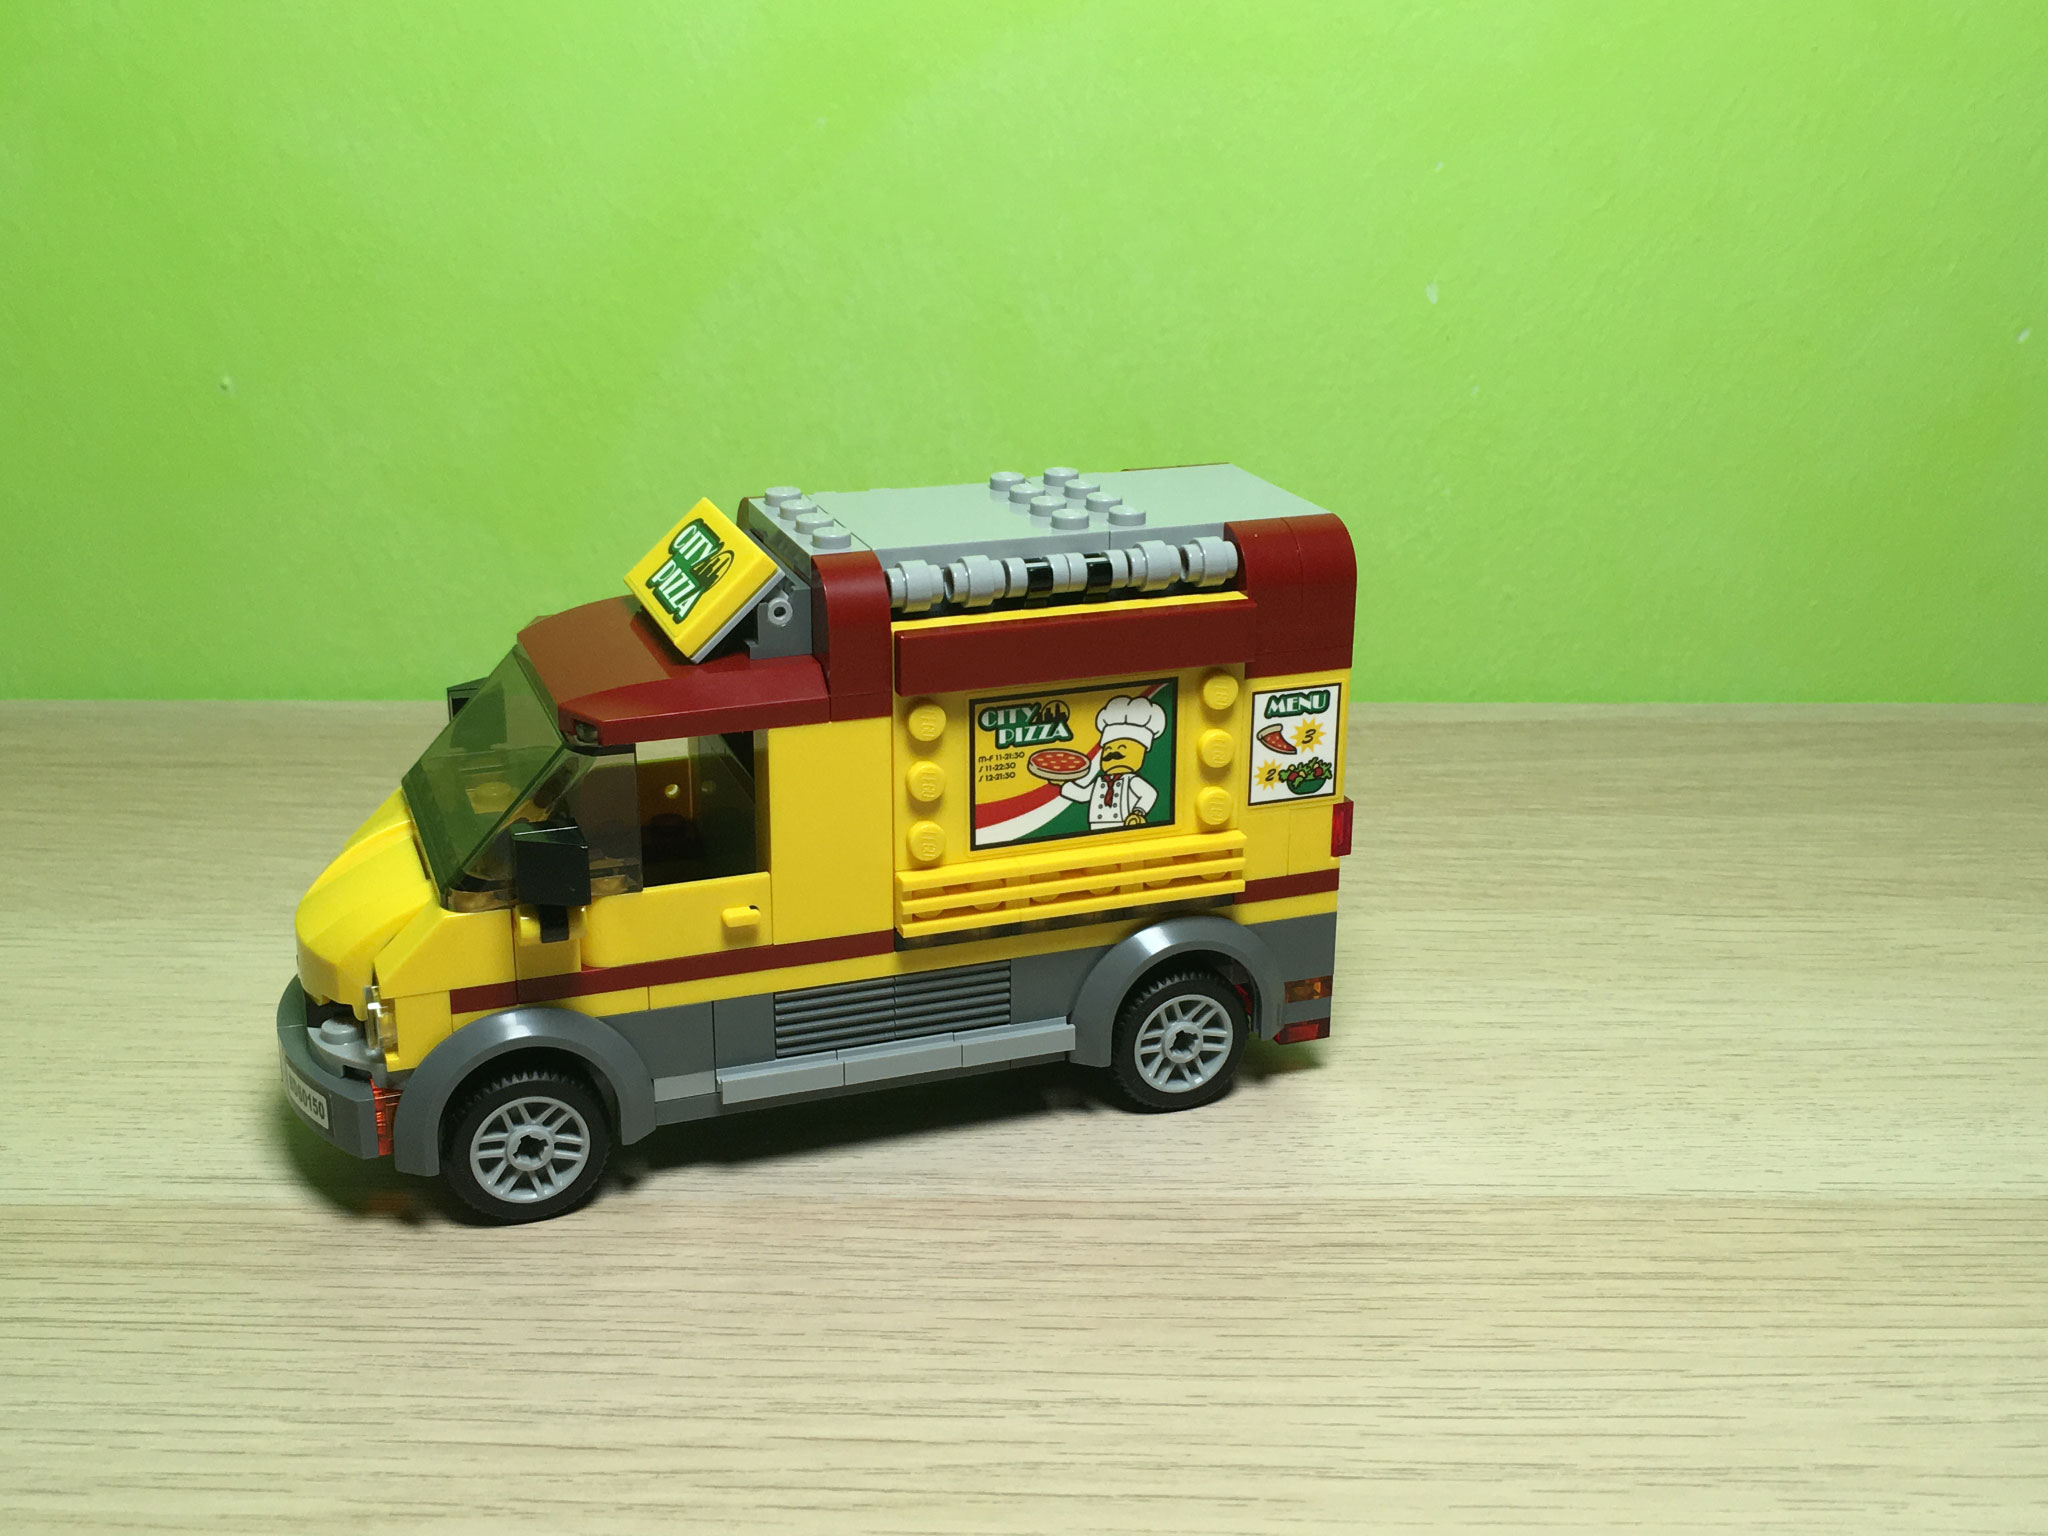
The Pizza Van itself has a nice color scheme to it with the yellow primary color, the dark red accents, and the dark grey lower half with some greebling toward the bottom. The front bumper is shaped well (the rear not so much), the side view mirrors are the right proportions, and the signage on top of the roof of the cab is a nice touch. The roof of the cab can be taken off to put the chef in the driver's seat. I like how the top of the rear area is light grey, just like how the tops of many food trucks are unpainted.
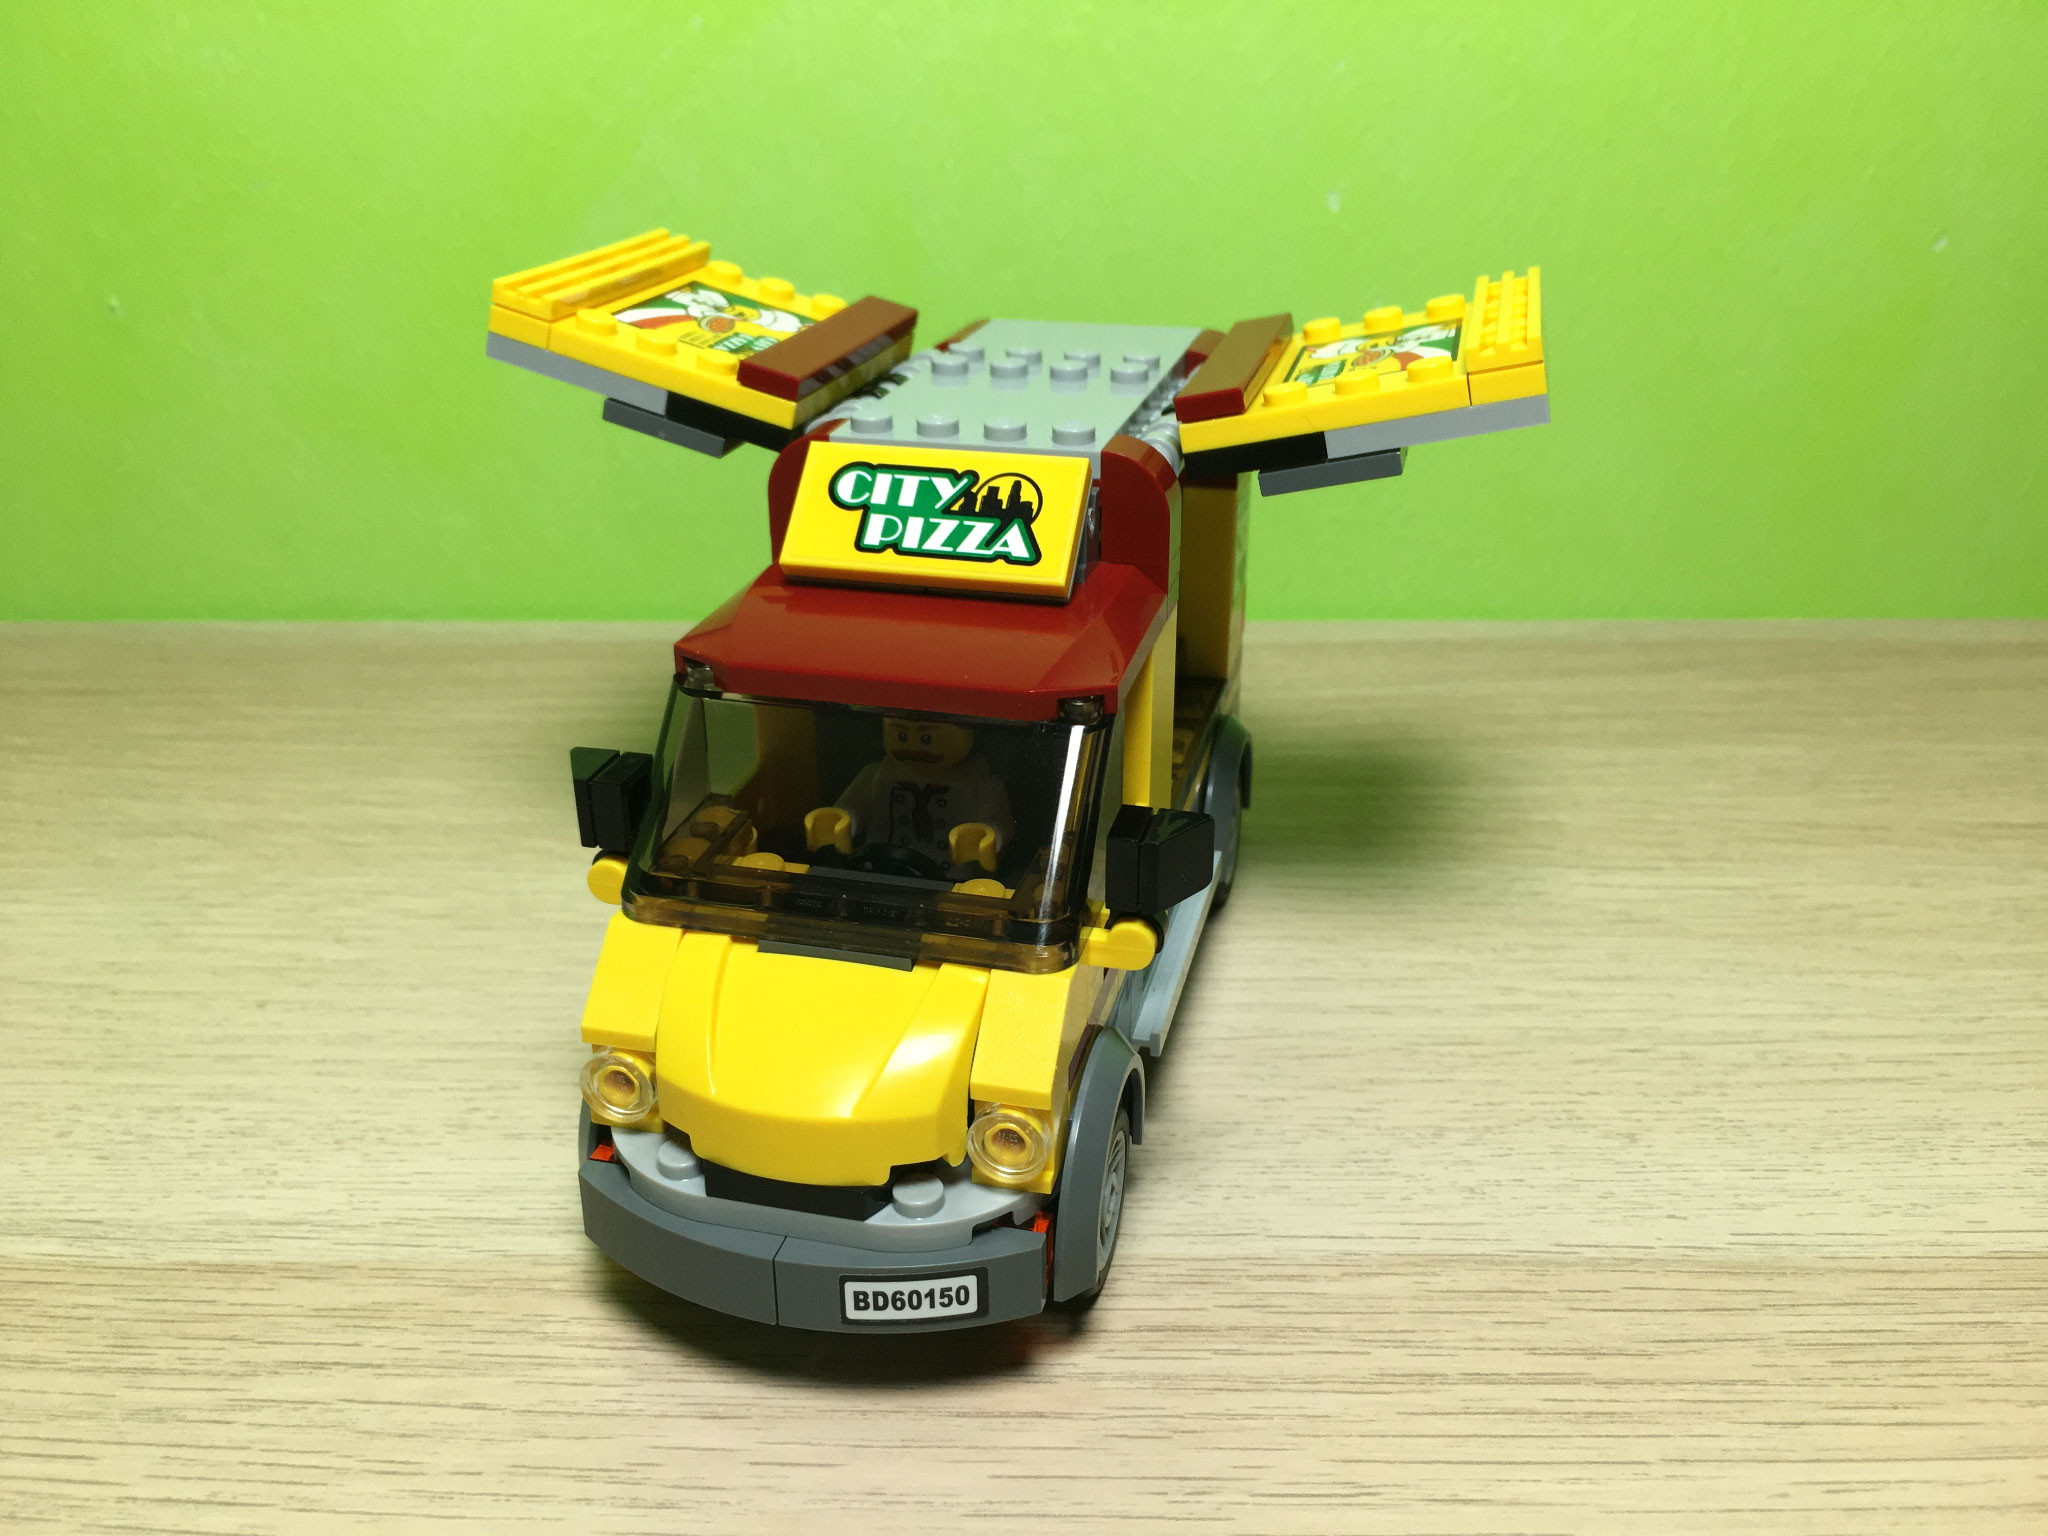
The two sides of the rear of the Pizza Van that open up are built as separate subassemblies which then attach to the main body itself via clips. These feature the large stickers I mentioned above, that can be a challenge to apply with so many studs around them — especially because the instruction booklet only tells you to apply them after you clip them on! Preferably you would do this before, not after.
Once each sticker is on, though, you can see that it contains a cute graphic as well as the Pizza Van's opening hours:
- Monday to Friday: 11 am to 9:30 pm
- Saturday: 11 am to 10:30 pm
- Sunday: 12 pm to 9:30 pm
Sadly, the chef's hat shown in the graphic is not included. I do have one from 10404 Ocean's Bottom, but I think the octopus chef wants to keep its job!
| 
| 
| ||
| ||||
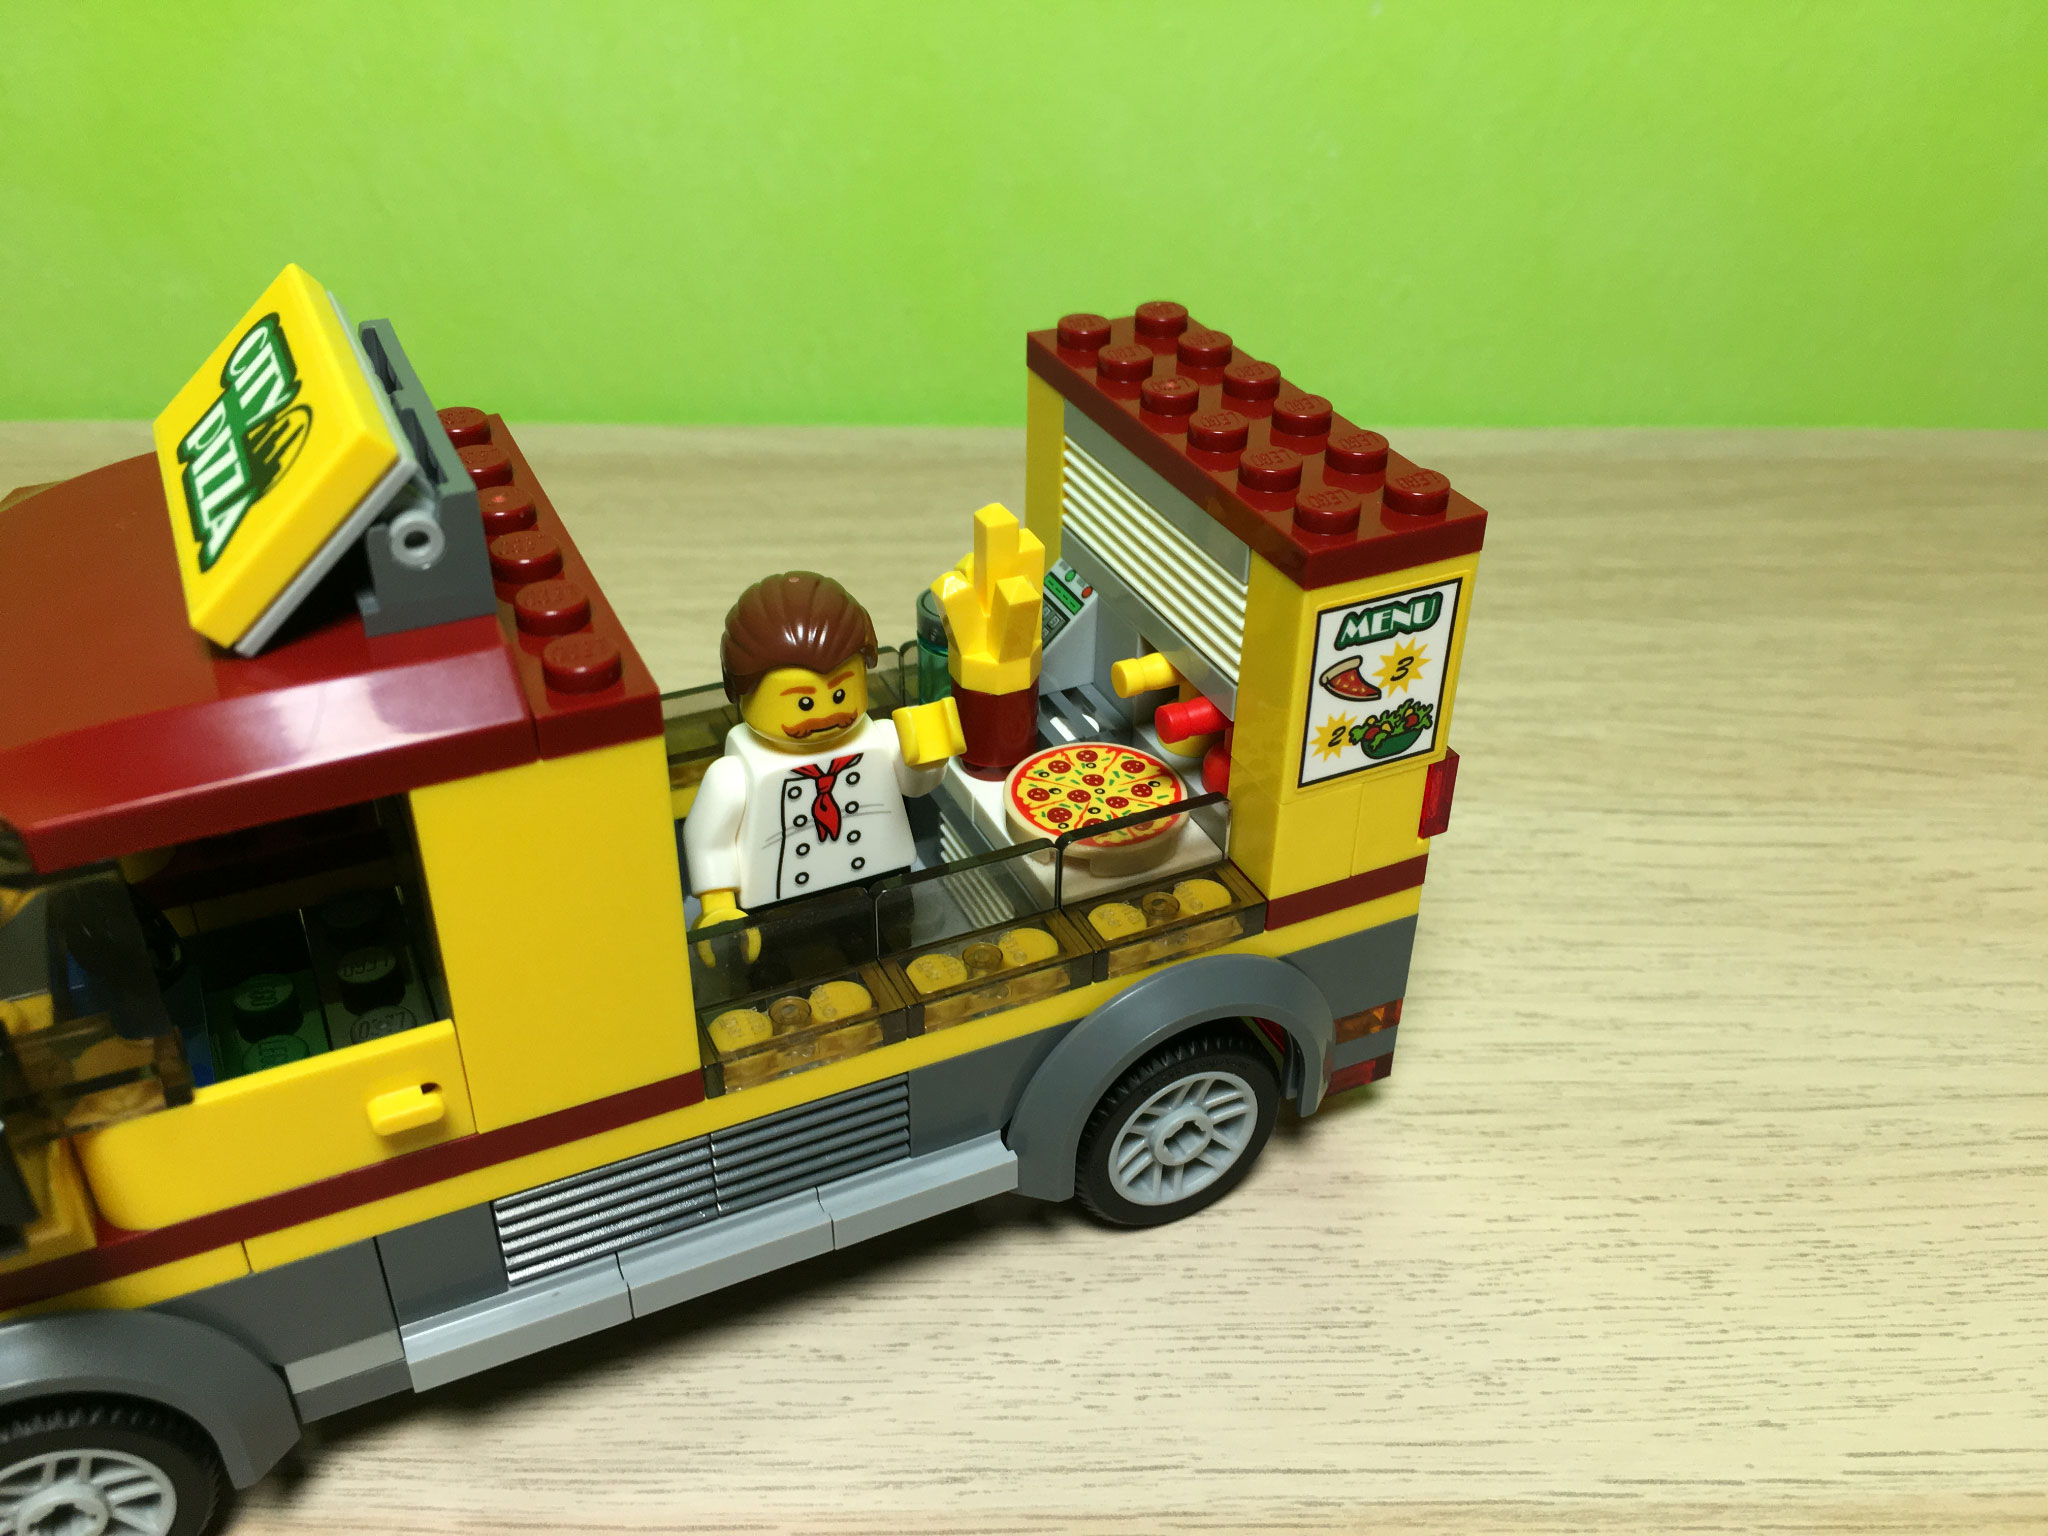
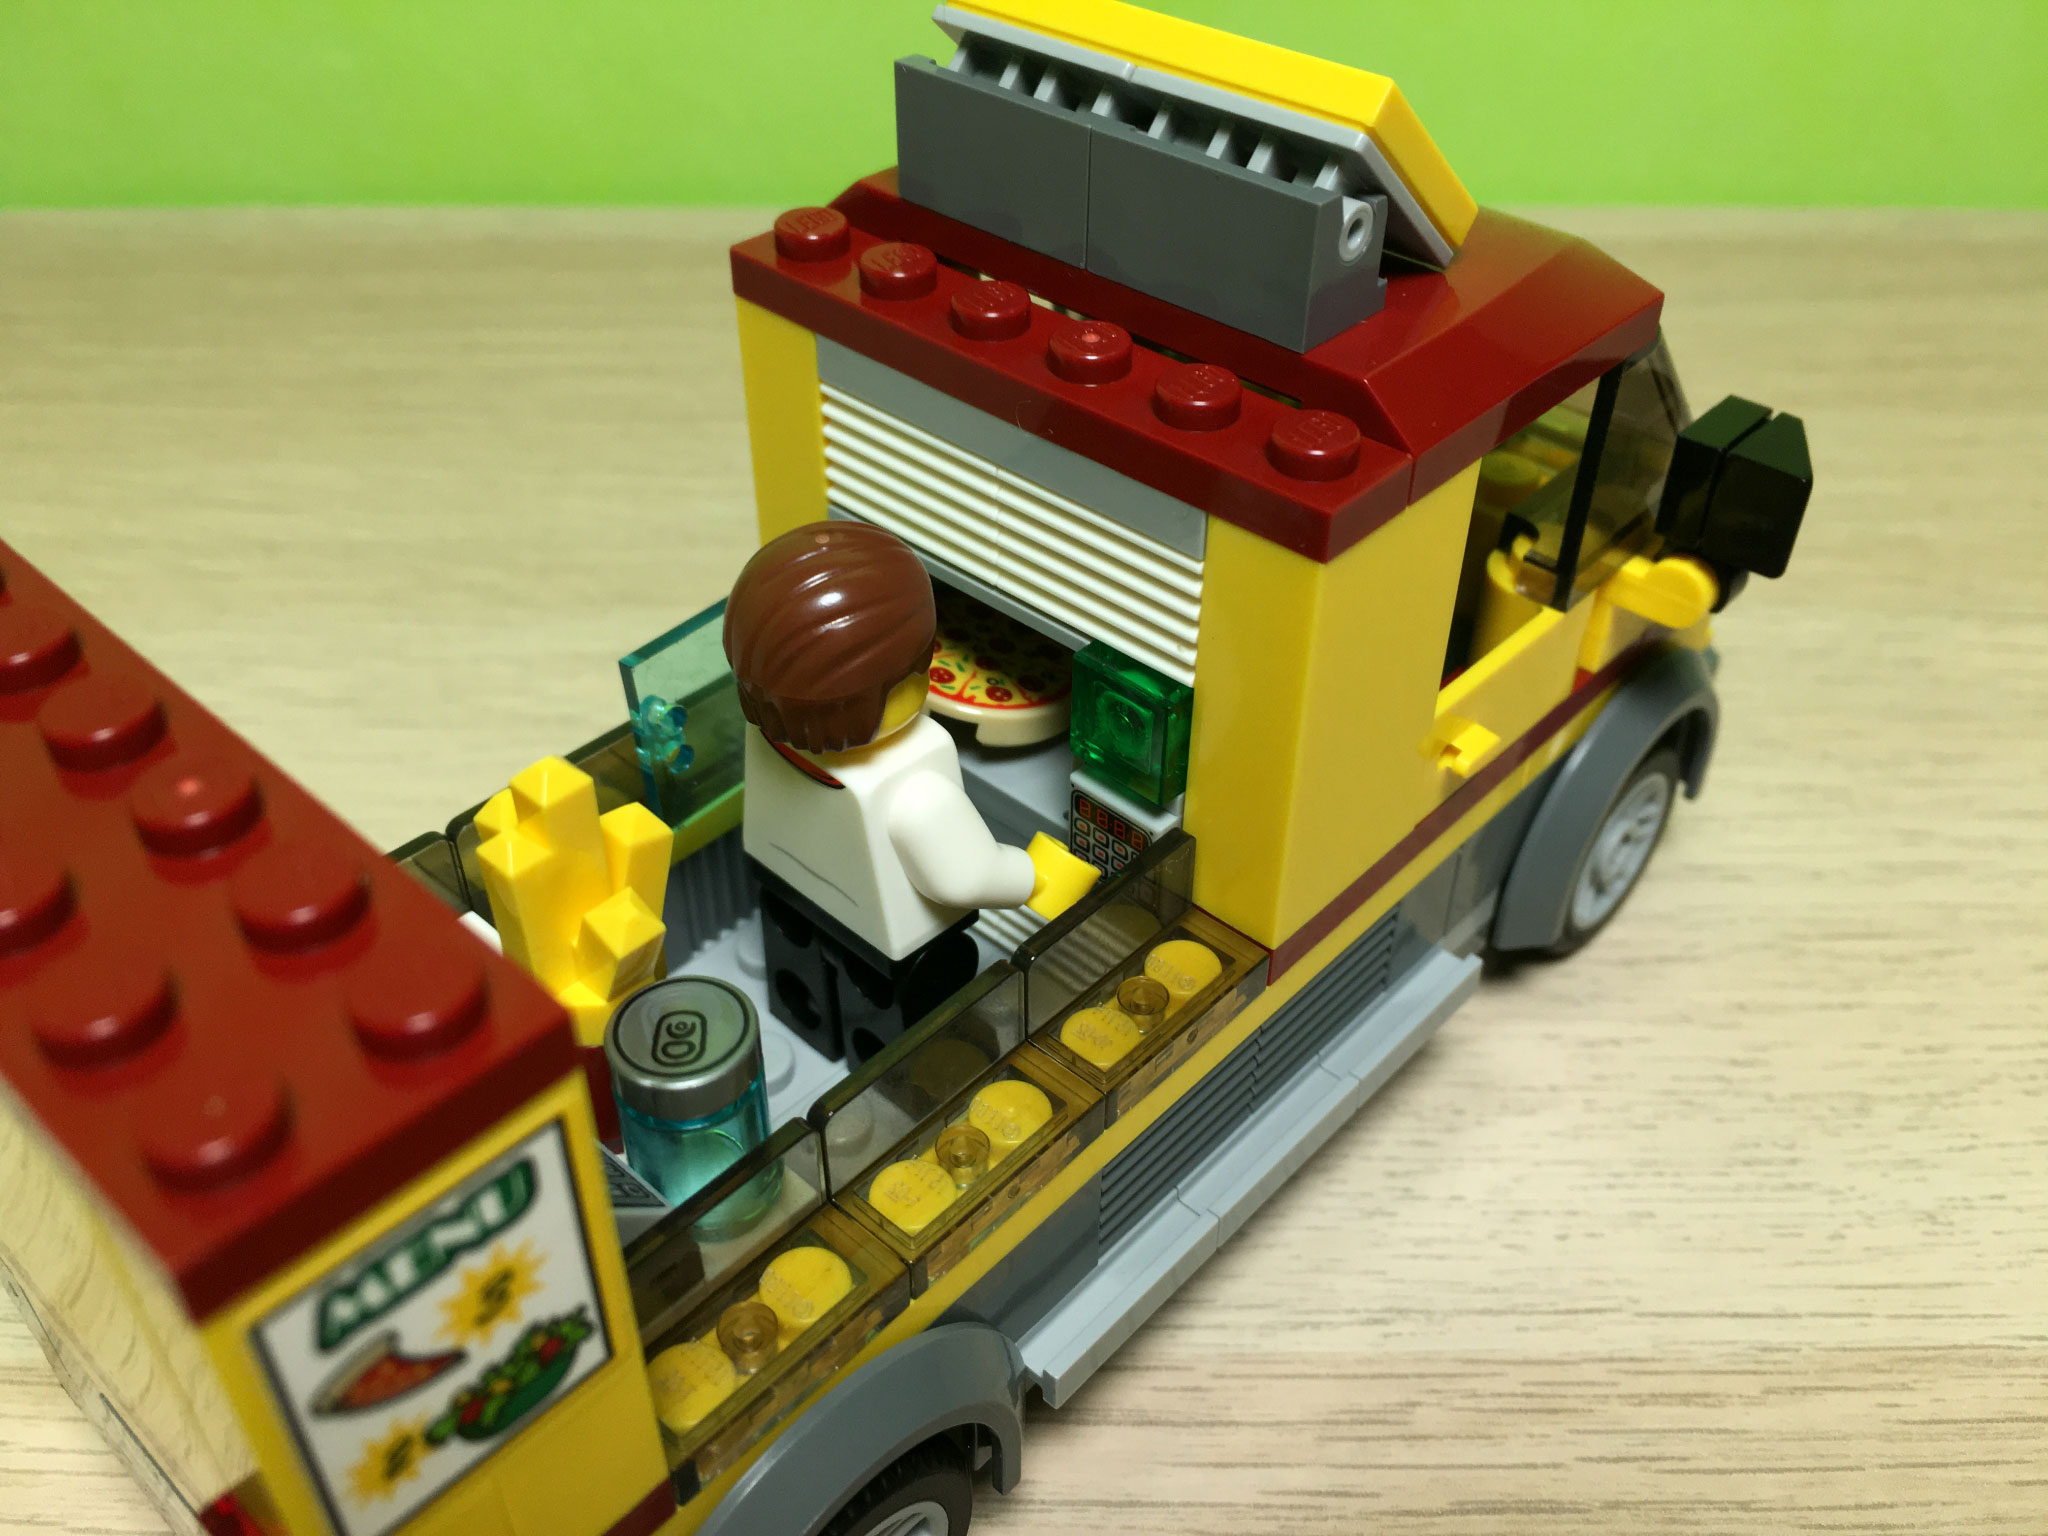
Inside the Pizza Van
Once the sides of the Pizza Van are opened up, you can see the kitchen space, bordered on both sides by small translucent panels over which to serve customers. It's rather cramped, but still full of detail and you can place up to 2 minifigures inside if you wish.
The side further back contains a cash register, ketchup and mustard dispensers, and space for a pizza pie as well as the canned drink and French fries. And the side closer to the cab contains an oven with a number pad and an indicator light, which unfortunately is not able to fit the pizza pie in with the door fully closed due to the walls and the door making its interior area smaller than the 2-wide pizza pie. But it's playable enough, certainly, and that's what matters!
| 
| 
| ||
| ||||
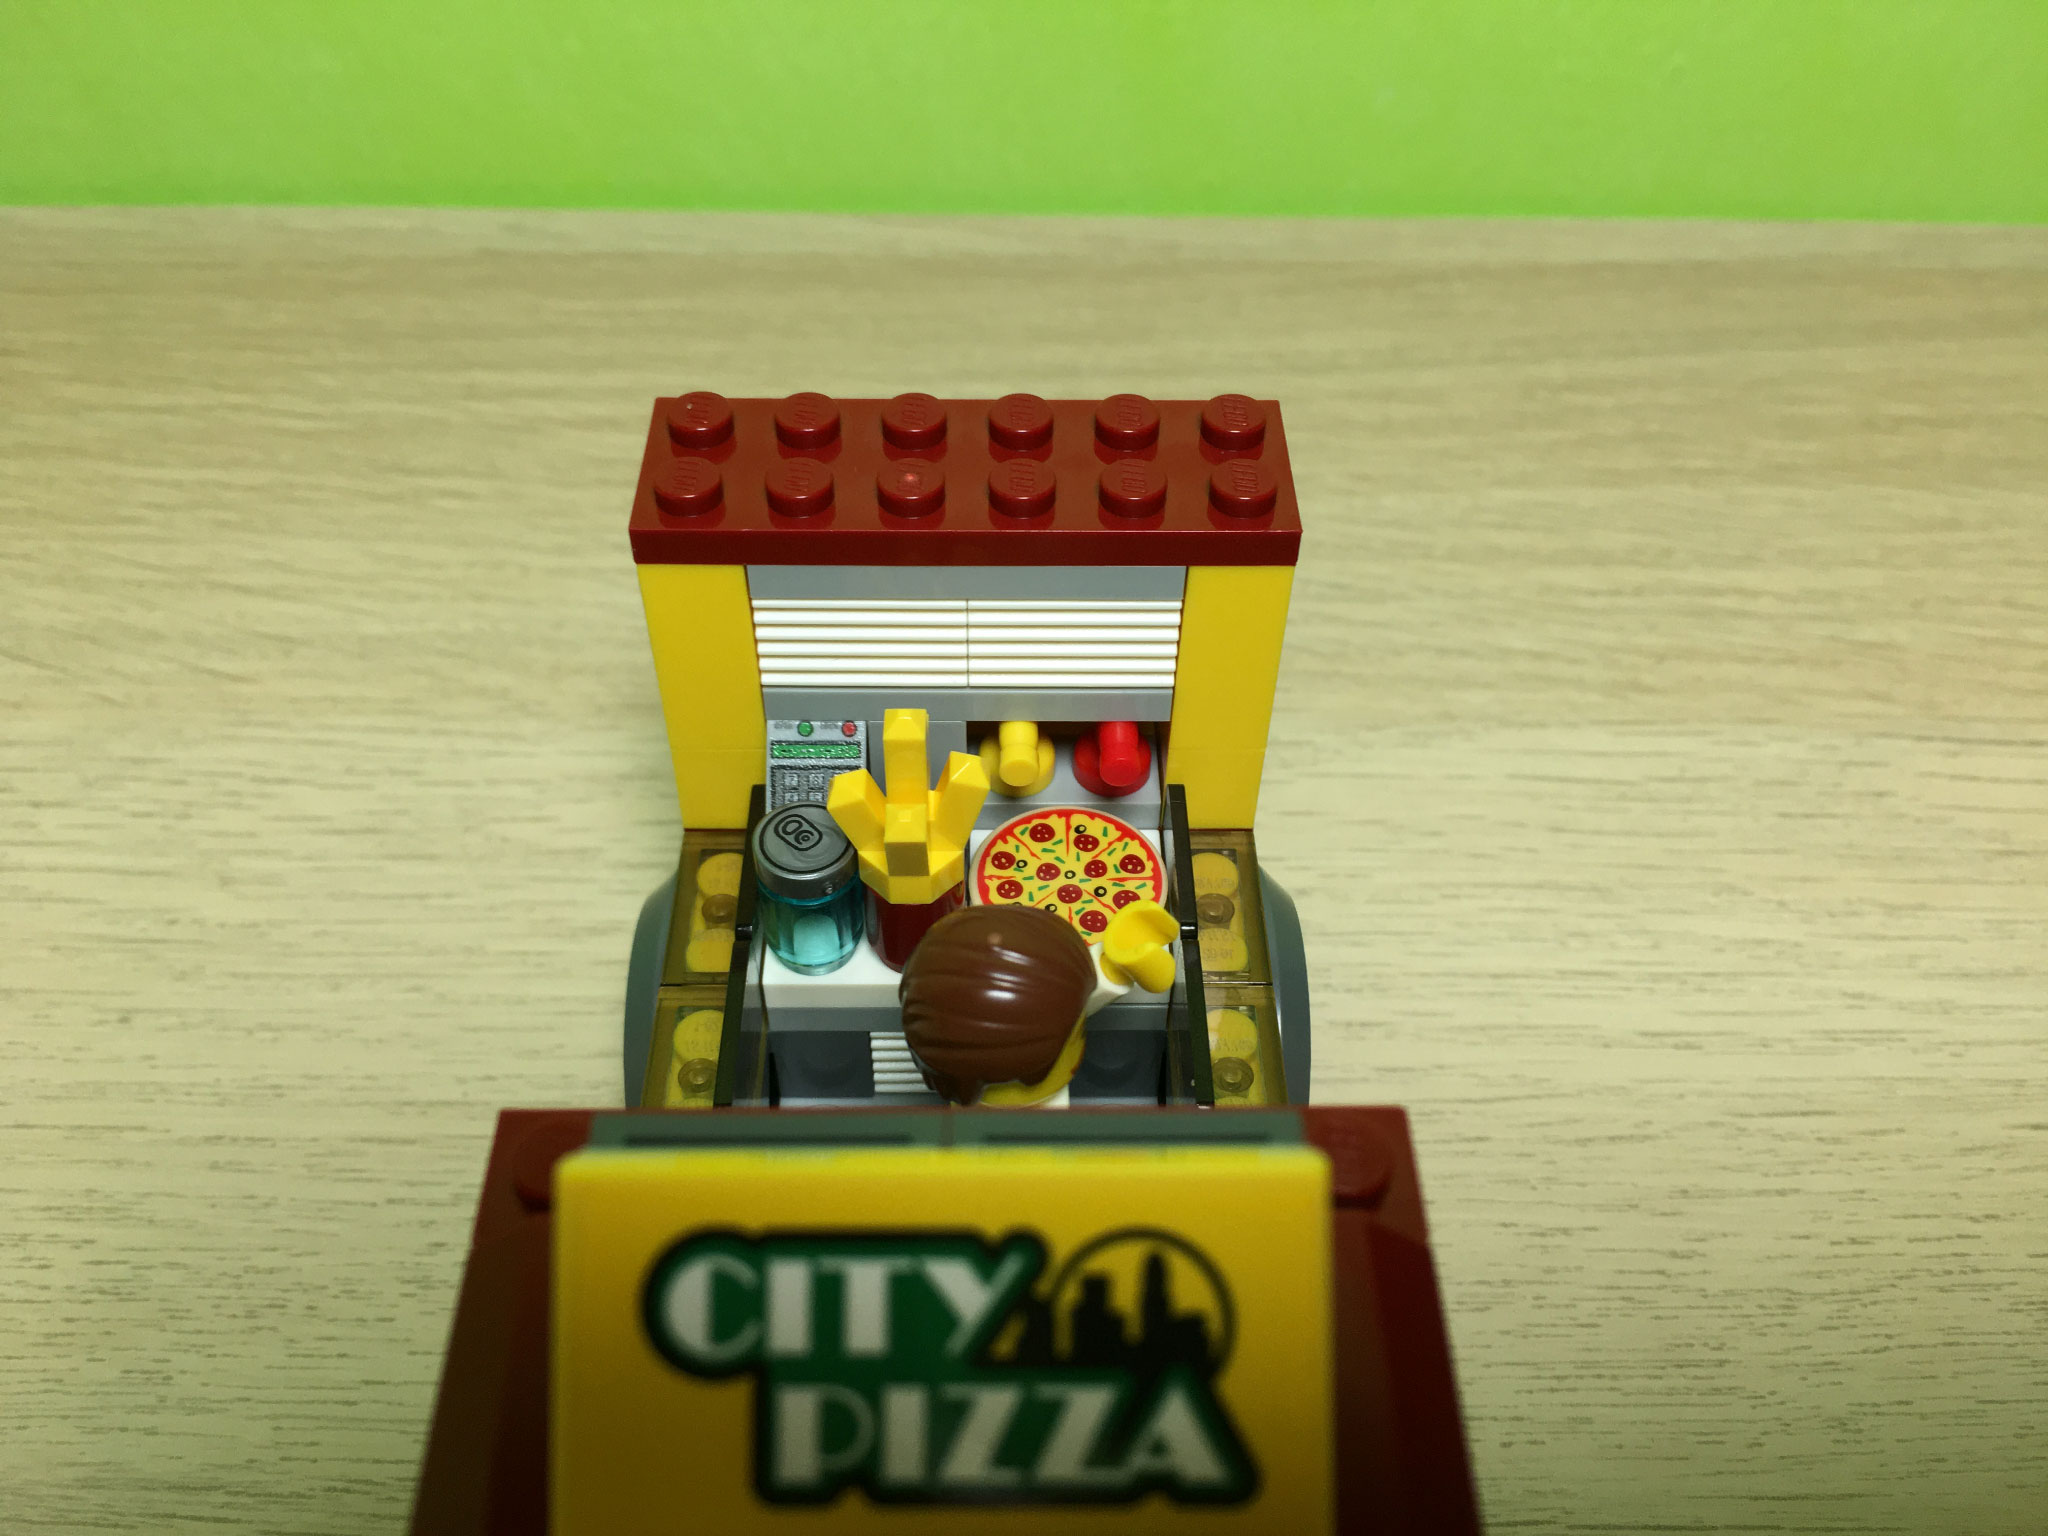
One last thing
I took off the top of the rear of the Pizza Van to let more light into the kitchen space for these photos, but one thing that many other reviews have pointed out is the fact that the top can't be easily removed due to the strong connections made with the dark red 1x6 and 2x6 plates. Some reviewers have suggested an improvement in the form of replacing those plates with tiles and jumpers to reduce the stud connections.
I tried a few different ways, but there are a number of issues that make this difficult:
The undersides of the plates and textured bricks severely limit where and how you can place jumpers without creating unsightly asymmetrical seams.
Most ways I've tried severely reduce the sturdiness of the lower part of the Pizza Van. That 2x6 plate is really doing most of the work in holding the panel and tall bricks of that rear subassembly together. Without it, they can start coming apart too easily.
Once you do place tiles and jumpers, you can no longer pick up the Pizza Van by its sides (after closing them up) as most kids are going to do, because the sides are connected to the top, not the main body. And since the entire top is now made to come off easily, and the vehicle itself is pretty weighty, the entire body of the vehicle is now much more likely to just fall off!
As much as I agree that it's a bummer the top can't be easily removed, I feel like it was a tough design decision to make, and ultimately it was made in favor of keeping the build sturdy for driving the vehicle around. I personally like that I'm able to pick up the Pizza Van by its sides without having to worry about dropping it, because it does hold itself together really well this way.
Conclusion
60150 Pizza Van has really great play value, especially for how inexpensive it is! It combines a vehicle and a food business into one. Drive to work, set up shop when you get there, prepare the pizza and sides, and let the customers flock in! When the day is done, pack up and drive home! One vehicle not enough? You also get a scooter that can be used for deliveries or personal transport!
The Pizza Van also works well as a display piece, as you can flip open whichever side you choose (including both), and have the chef serve pizza fresh from the oven to whoever's first in line. The outdoor table is simplistic and is stand-up rather than sit-down with chairs, but it looks the part, especially with that lime green parasol.
If you have a LEGO city display, the Pizza Van looks great anywhere you'd expect to see a food truck: near a parking lot, on some other open area in the streets, or even just along the sidewalk at a strategic spot.
I've also seen custom alternate models by A MOC, BrickBros UK and KEEP ON BRICKING that turn the Pizza Van into either a pizzeria, or a pizza stand with a sports car, making this set even cooler than what LEGO offers out of the box!
All in all, a much sought after set, that's very affordable, small yet packed with lots of play and display value, with no less rebuilding potential than any other LEGO set. If you're like me and you're not interested in cops and robbers or firefighting, but you do want a classic addition to your LEGO city and a place for your minifigures to sit down for yummy food, you can't go wrong with this.